Through Bot Libre, you can now send and receive messages on Skype with your own bot. This "How To" will give you a step by step process to connect your bot with Skype.
You can also watch this "how to" on Youtube here
Step 1 - Create a Bot
First you must create a bot that you want to connect to Skype, or you can use one of your existing bots. To create a bot, follow the instructions here: How to create your own chat bot in 10 clicks.
Step 2 - Sign up for Microsoft Bot Framework
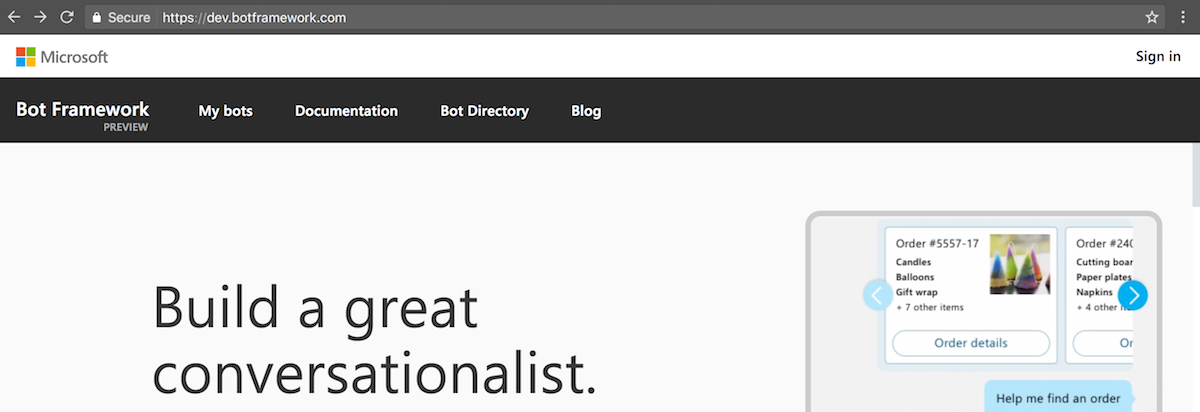
Go to https://dev.botframework.com and click the 'Sign In' button in the top-right corner. If you do not already have a Microsoft account, you will need to create one by signing up here: https://signup.live.com.
Once you are signed in, click the 'My bots' button.
Step 3 - Create a Bot on Microsoft's Bot Framework
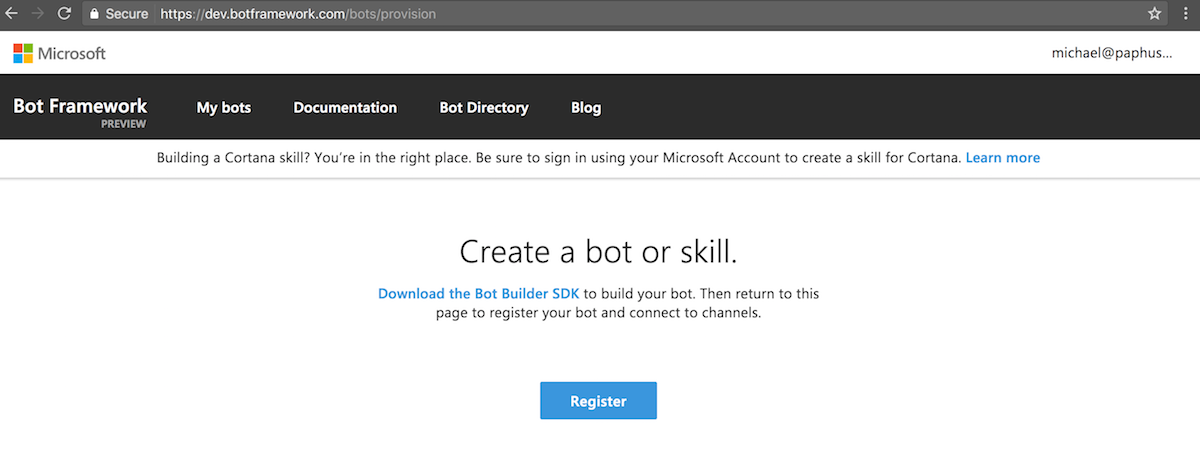
Next, click on the 'Create a bot' button on the right side of the screen.

On the following screen, click the 'Register' button to continue.
You will now need to fill out some information on the following form:
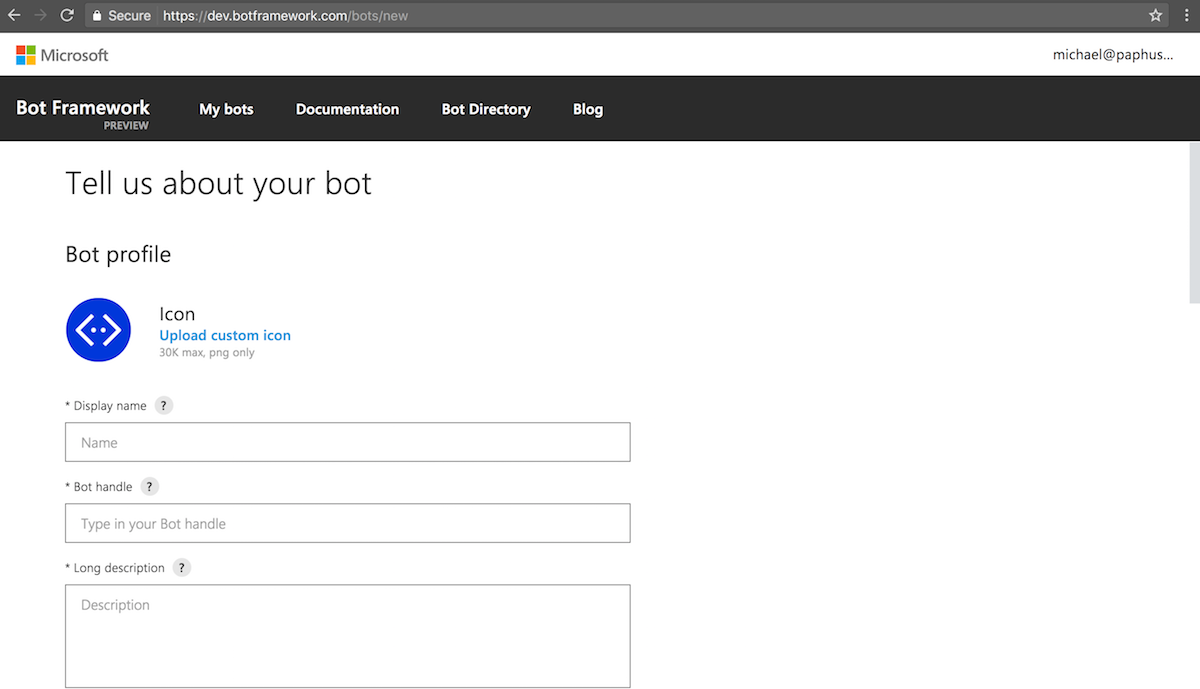
The 'Display name' will be shown as the name of the bot when talking to it on Skype. This name can be changed later.
The 'Bot handle' must be a unique identifier for your bot.
Fill in a description for your bot and then scroll down further to the 'Configuration' section.

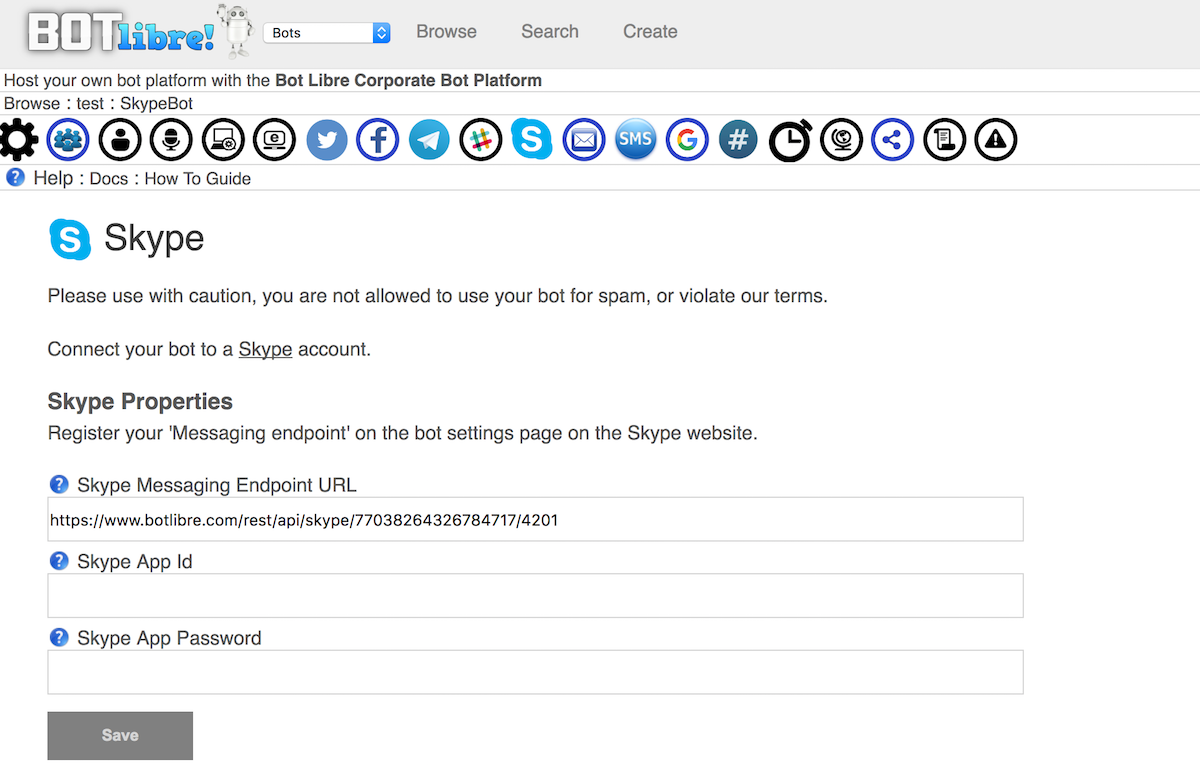
Return to the Bot Libre site and go to the Admin Console of the bot that you would like to connect to Skype. In the 'Skype' section of the bot's Admin Console, copy the 'Skype Messaging Endpoint URL' to your clipboard.
Return to the bot settings page on the Microsoft Bot Framework website and paste the 'Skype Messaging Endpoint URL' into the 'Messaging endpoint' field.

Click the 'Create Microsoft App ID and password' button to continue.
Step 4 - Create Microsoft App ID and Password
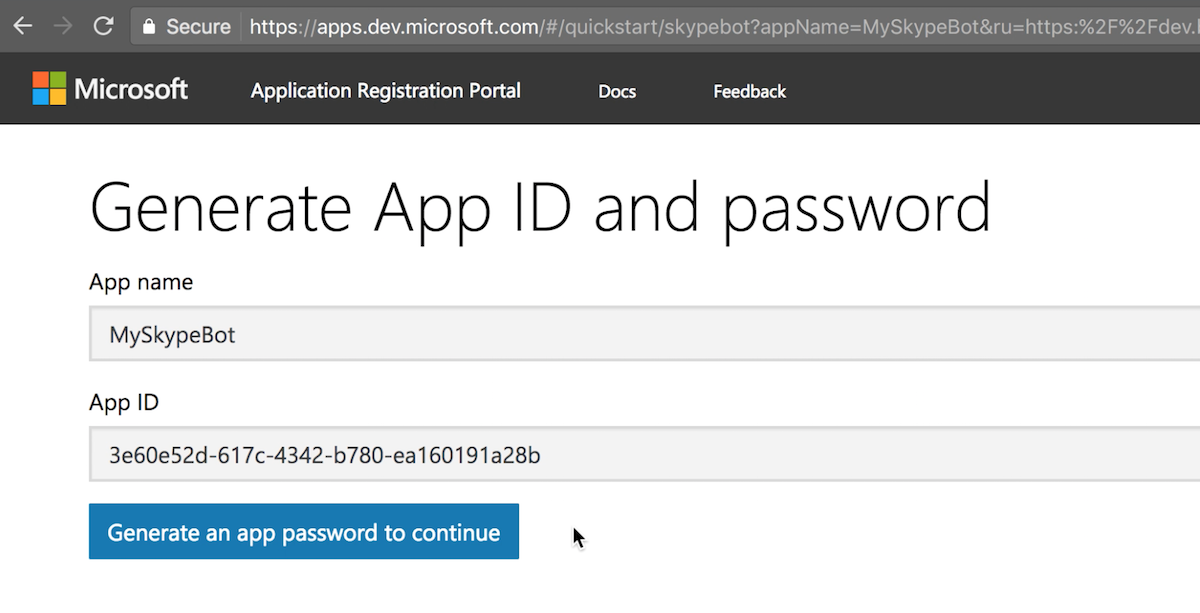
Make a note of the App ID, as you will need it later. Click the 'Generate an app password to continue' button. A popup window will appear with a generated password. Copy this password down, this is the only time it will be displayed. Click the 'Finish and go back to Bot Framework' button to return. Continue to the bottom of the page and click the 'Register' button to complete the setup process on the Bot Framework site.
Return to your bot's admin page on the Bot Libre site. Enter the App Id and App Password that you just generated into the corresponding fields.

Press the 'Save' button to complete the setup process.
You are now ready to add your Skype bot to your contacts on Skype, or submit it to the Skype Bot Directory so other users can find it.
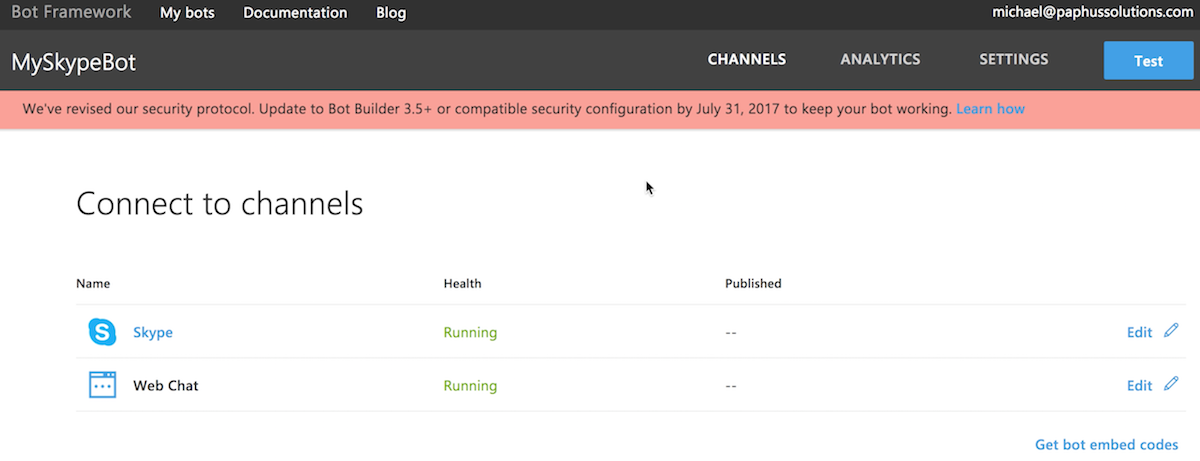
To add your bot to your Skype contacts, click on "Skype" under the Name column in the Channels area of the Microsoft Bot Framework site as shown below:
Click the 'Add to Contacts' button.

To allow your bot to chat with other people, you will need to publish your bot. Click the 'Edit' button for Skype in the Channels area of the Microsoft Bot Framework site.
From there, click the 'Publish' button. You will need to fill out some details and then wait for it to be reviewed.

Your bot should now be able to send and receive messages on Skype. If you encountered any issues, or would like help setting up your bot please email us at support@botlibre.com or upgrade to Bot Libre for Business or our Platinum service and we can build your bot for you.
Test it out now by talking with our demo bots Brain Bot or Julie on Skype
The Microsoft Bot Framework also provides a gateway to connect your bot to many other services. These include, Kik, Bing, Cortana, Email, Facebook, GroupMe, MSTeams, Slack, Telegram and Twilio. To connect your bot to any of these platform just follow the same instructions as for Skype, then connect your bot to the service from the Microsoft Bot Platform.