Pages

Thursday, October 29, 2020

How to create your own Stock Bot for stock quotes and market information

The Stock Bot template offers financially useful functionality. Using the StockQuote script and your own API key you can have access to stock quotes. This bot is setup with IEX cloud API docs which offers many plans for API keys, even a free version. You must set your API key in the StockQuote script. If you wish for the bot to be able to access more information that is important to you, depending on your IEX cloud plan there exists a lot more information that can be accessed and easily reconfigured in the StockQuote script. You can see the bot in action here.

Consider using the bots Define functionality as well by adding your own definitions to the Define script or even integrating a dictionary API for quick financial definitions. 

If you implement this template in your own bot then navigate to the Bots menu and select New Bot

Fill out the information about your new bot as you wish but ensure to select stock_bot_template from the Template dropdown menu.


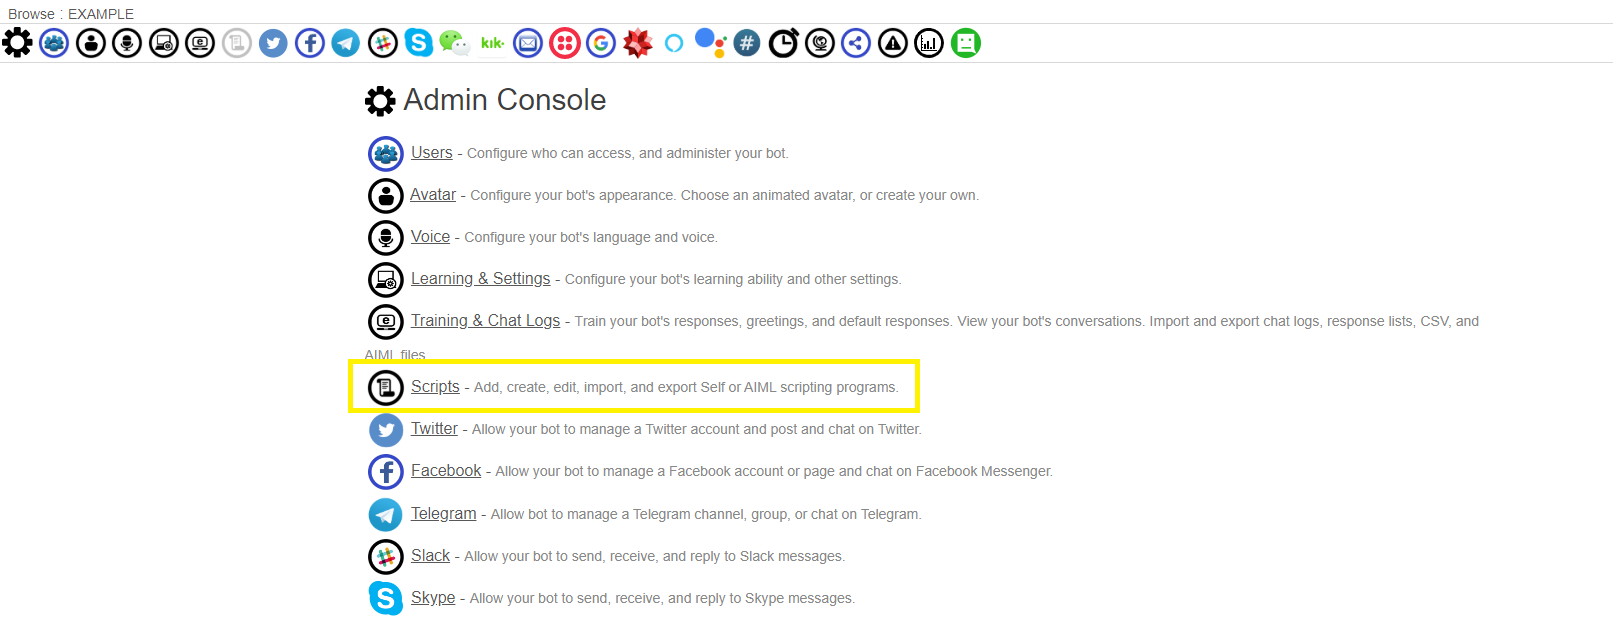
Once your bot is created you will then need to update the StockQuote with your personal IEX cloud API key which you can get from their website. To access this script after you bot has been created, select the Admin button. 

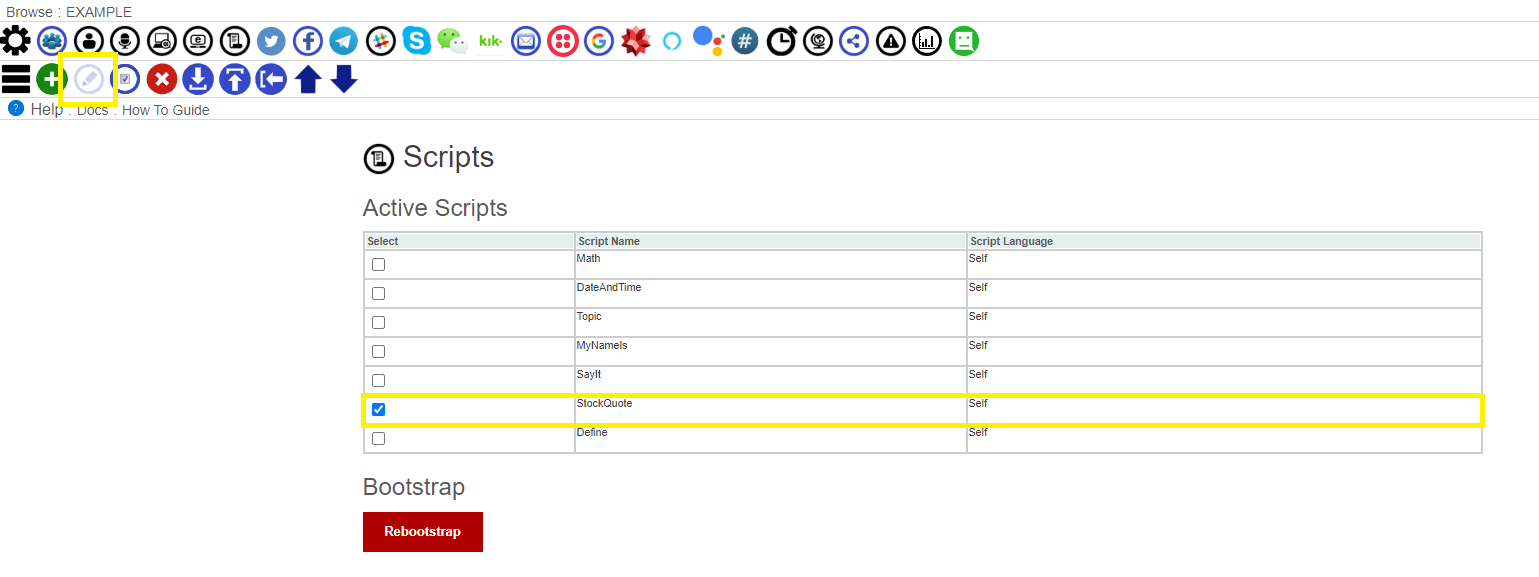
Then you want to select the Scripts link to bring you to the active scripts the bot is using. 


Make sure to select the StockQuote scripts and then you can edit it by selecting the Edit button highlighted in the top left.


Finally, navigate to the stockPrice() function and be sure to set the api_key variable to your own key.


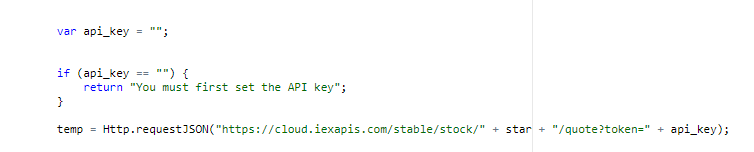
Ensure to save the script and then you will be able to start using the bot stock quote functional

Here is the StockQuote script

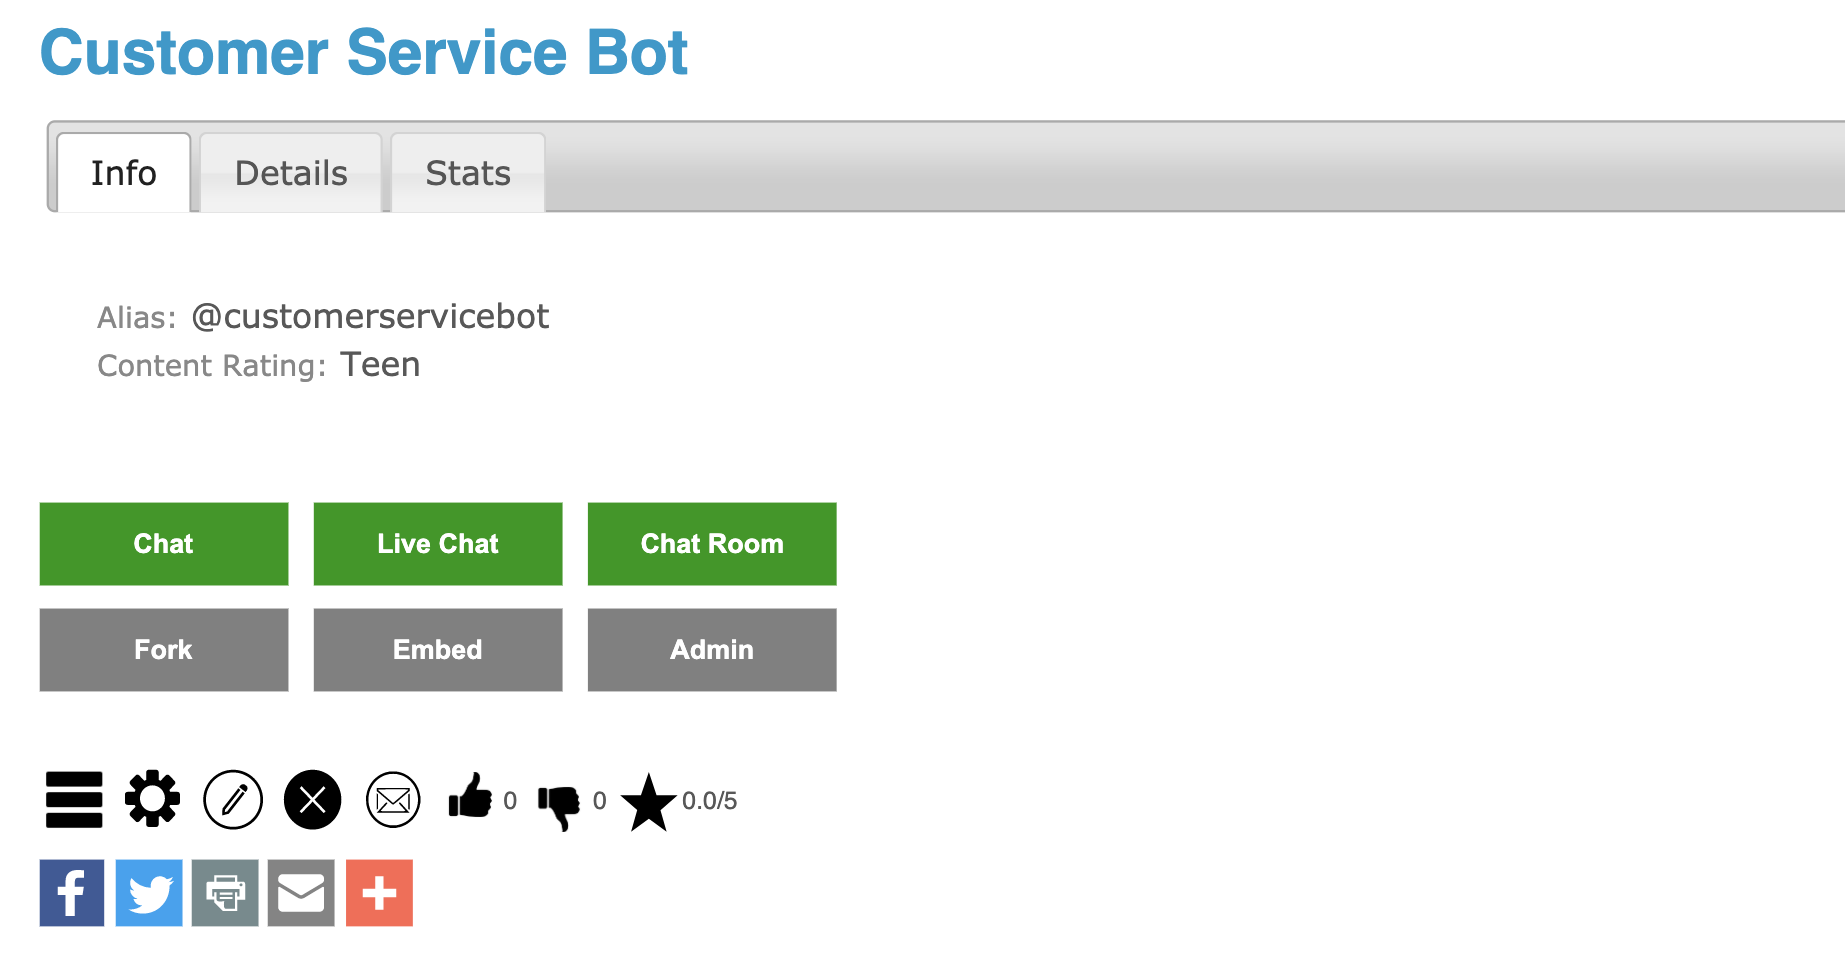
Chat with the Stock Bot

Thursday, October 22, 2020

How to Train a Deep Learning TensorFlow Analytic to Play Checkers

Bot Libre now allows you to create generic deep learning analytics and train them through our web API. Deep learning analytics can be used for a wide array of purposes to analyze and make predications on data. This example shows how to train a deep learning analytic to play checkers.

You can use either the Bot Libre deep learning library, or the TensorFlow deep learning library. You can choose the inputs, outputs, and layers.

The web API endpoint to train the network is:
https://www.botlibre.com/rest/api/train-data-analytic

The web API endpoint to test the network is:
https://www.botlibre.com/rest/api/test-data-analytic

Create the Analytic

1. Go to the Deep Learning page and create a new analytic.

2. Configure the network with the following settings:

3. Click on "Save", and then "Reset Network".

Train the Analytic

You can use our Java checkers program to train your Checkers analytic.

You can find it here: https://github.com/BotLibre/BotLibre/blob/master/ai-engine/source/org/botlibre/game/Checkers.java.

1. Clone our BotLibre GitHub repository, and open the Checkers.java file in your preferred Java IDE.

2. Edit apiDetails with your API details:

  • URL to the Bot Libre REST API (this should be https://www.botlibre.com/rest/api
  • Your username
  • Your password
  • Your application ID
  • Your analytic's ID

3. Use the learnGames method to train your analytic. We provide several playing strategies to train with in the Strategy class. Some examples have been provided for you to use.

4. You can use the playGames method to test your analytic against several playing strategies.

Create a Checkers Chatbot

Now that you have an analytic trained to play Checkers, you can create your own Checkers chatbot with your own analytic!

Follow this tutorial to create your Checkers chatbot.

Then, modify line 283 of the Checkers Self script with your application ID and analytic ID to connect it to your analytic.

Here is an example Checkers chatbot for you to try: https://www.botlibre.com/browse?id=18546151.

Tuesday, October 20, 2020

How to Connect a Bot to WhatsApp

Through Bot Libre and Bot Libre for Business, you can now send and receive WhatsApp messages with your own bot. Currently, WhatsApp requires users to have a formally approved account to send messages, but this can be avoided by working in a sandbox on Twilio. 

Step 1 - Create a Bot 

First you must create a bot that you want to connect to WhatsApp via Twilio, or you can use one of your existing bots. To create a bot, follow the instructions here: How to create your own chat bot in 10 clicks

Step 2 - Create a Twilio account

Click here to go the Twilio website. To create a trial account, click on the "Sign up and start building" button in the middle of the website.

Enter your information on the following form, then click the "Start your free trial" button.

You will then need to verify your email address. Check your email and click on the link.

You will also need to verify your cell phone number. Enter your cell number and click "Verify".

Once you have received your verification code, enter it on the website and press "Submit" to complete your account creation.

Answer the questions from Twilio or click "Skip to dashboard".

Step 3 - Get a phone number from Twilio

From the menu on the left side of the Twilio website, select the circle and three dots icon, shown in red below, and then select "Phone Numbers"


Click the "Get Started" button to begin. Next, click the "Get your first Twilio phone number".

A screen will pop up with a phone number that has been chosen for you. You can accept this phone number by clicking the "Choose this Number" button. If you want to try again for a different phone number, you can click the underlined "Search for a different number" link. Ensure the number you select has voice capabilities.

Step 4 - Connect webhook

Navigate to your bot's page on the Bot Libre website. Go to its admin console by clicking on the gear icon.

Click the "WhatsApp" link to view your bot's Twilio settings. Copy the "Twilio WhatsApp Webhook URL" to your clipboard.

Now return to the Console on the Twilio website and select "Programmable SMS", then "Settings", and finally "WhatsApp Sandbox Settings". 

Next, paste the Twilio WhatsApp Webhook URL into the "When a message comes in" textbox. Scroll to the bottom and press save.

Step 5 - Connecting to your bot on WhatsApp

To join the sandbox, send your join code, found under "Sandbox Participants", to your Twilio number. This will add you to the sandbox where you can begin messaging your bot!

In summary, your bot should now be able to send and receive WhatsApp messages through the sandbox on Twilio. If you encountered any issues, or would like help setting up your bot please email us at support@botlibre.com or upgrade to our Platinum service and we can build your bot for you.