Pages

Monday, November 18, 2019

How To Connect A Bot to Microsoft Speech

Through Bot Libre, your bots may use Microsoft Speech for text-to-speech. This "How To" will give you a step by step process to connect your bot with Microsoft Speech.

Step 1 - Create a Bot

First you must create a bot that you want to connect to Microsoft Speech, or you can use one of your existing bots. To create a bot, follow the instructions here: How to create your own chat bot in 10 clicks.

Step 2 - Sign Up For Microsoft Account

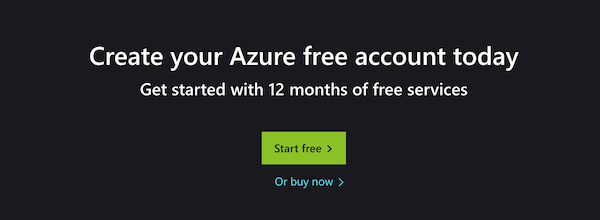
Click the "Free Account" button to create an account, or sign in if you have an existing one.

Click the "Start Free" button to begin.

If you have an existing Microsoft or Skype account, you can sign in with that. Otherwise, click the "Create one!" link.

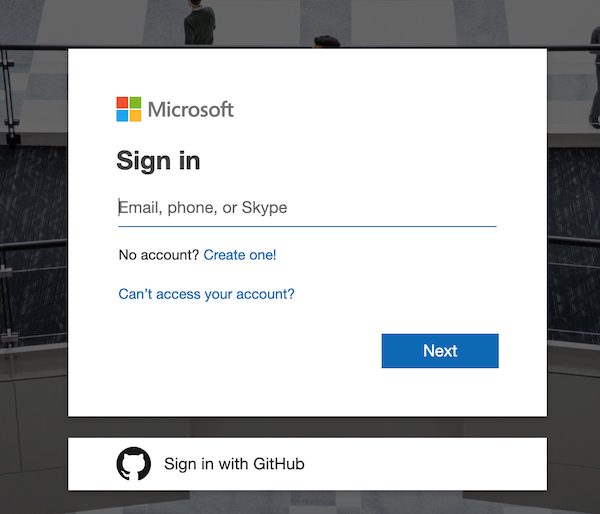
You will be asked to enter your email address. Click the "Next" button to continue when ready.

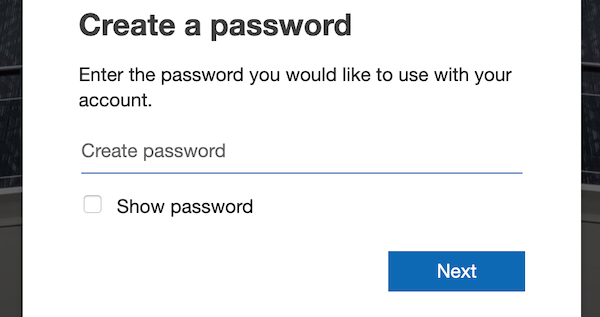
Enter a password to use with this account then click the "Next" button.

You will then need to verify your email address by entering a code that has been emailed to you. Click "Next" to continue.

You will now need to prove you are a human by entering a set of characters. Click "Next" when complete.

You will now need to confirm that the information you have just entered is still accurate. Click "Looks good!" to confirm.

On the next screen, confirm whether you want this account to remain signed in.

Step 3 - Sign Up For Microsoft Azure

You will now need to enter some personal information on the following form. When complete, click the "Next" button.

You will then need to verify your phone number and credit card information.

Once you have finished verifying your information, submit the form to continue.

Click the "Skip and continue to the Azure portal" button to continue.

Step 4 - Create Speech Resource on Azure Portal

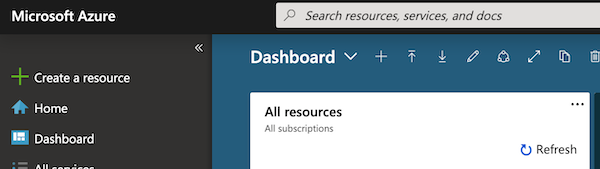
You will now be taken to the Azure dashboard. Click the "+Create a resource" link on the left toolbar.

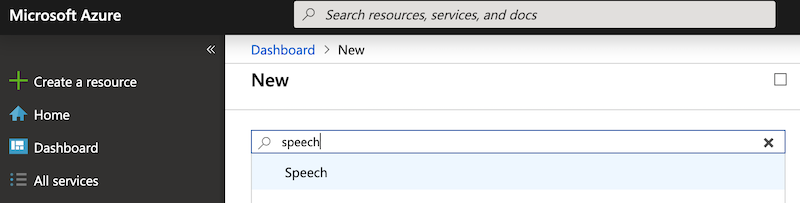
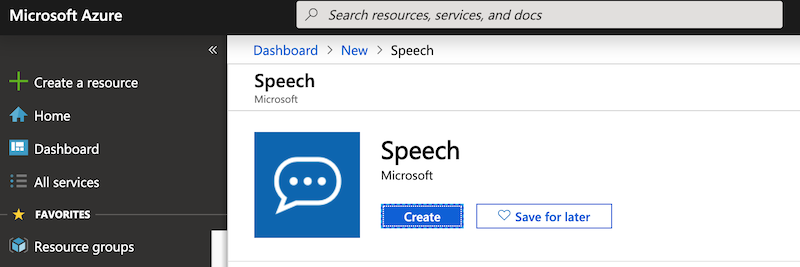
Type "speech" into the search bar and click the "Speech" option that appears in the dropdown.

Next, click the "Create" button on the following screen.

You will now need to fill out the following form. Enter a name and select a location. You will also need to select a pricing tier. For more information about which pricing tier to select, click here.

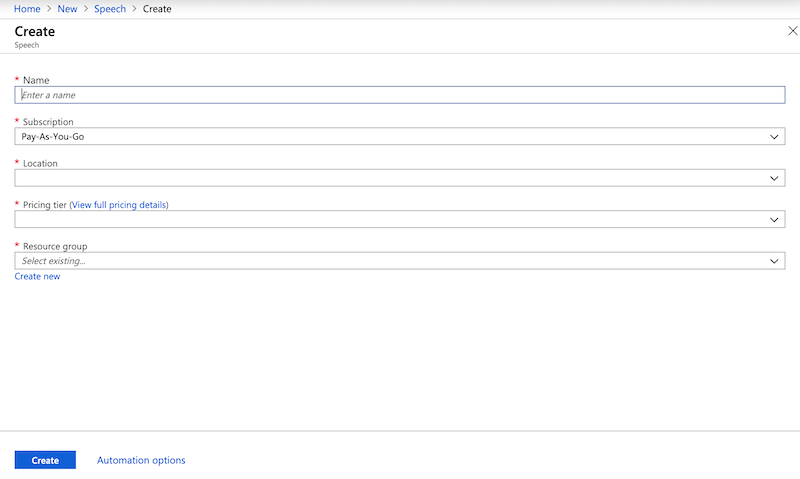
You will need to create a resource group if you do not already have one. Click the "Create new" link under the Resource group dropdown.

Enter a name for the resource group and press the "OK" button.

Click the "Create" button at the bottom of the form to continue.

It will take a few moments for your Speech resource to be deployed. When it is ready, your screen will appear as below.

Click the "Go to resource" button. You will be taken to the following screen.

Make a note of the URL listed in the step 2b above, "https://eastus.api.cognitive.microsoft.com/sts/v1.0/issuetoken" in this example. You will need URL for a later step.

Next, click on the "Keys" link in step 1 above.

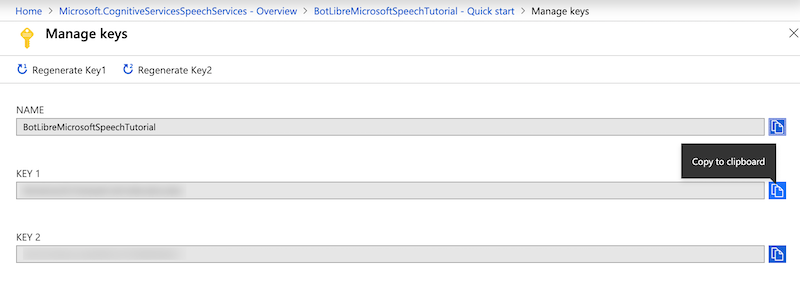
Click on the button to the right of one of the keys to copy it to your clipboard. It does not matter which key you select.

Step 5 - Connect to your Bot Libre Bot

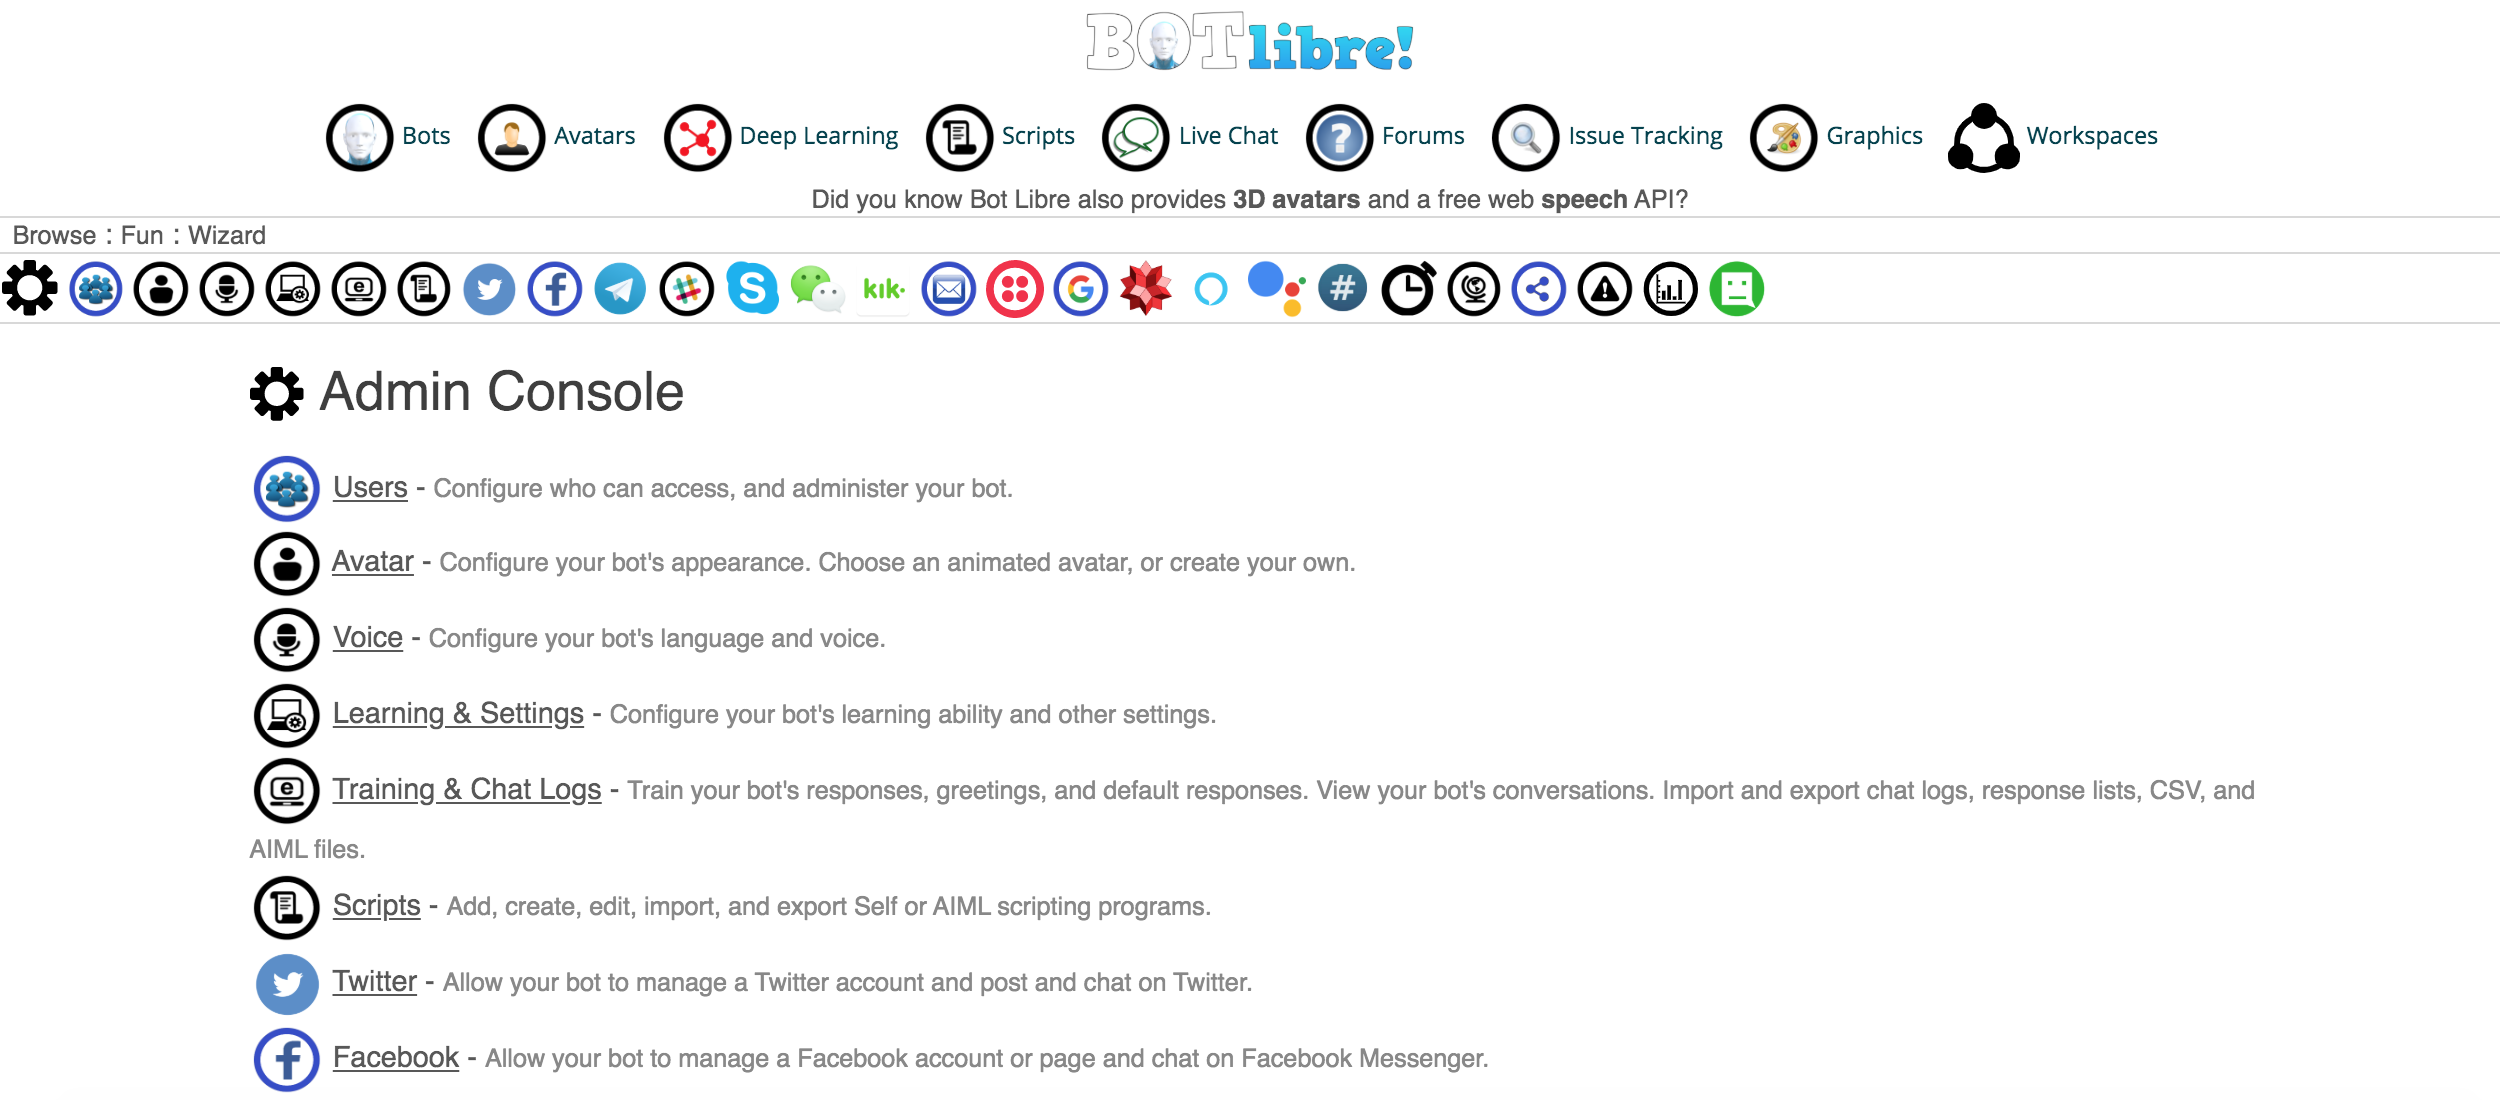
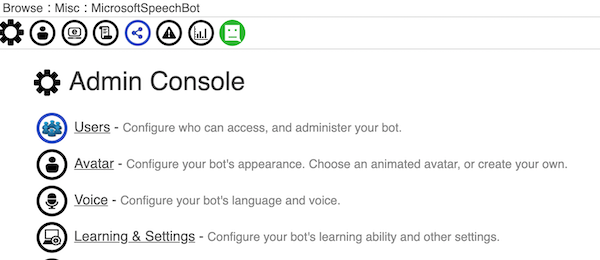
Return to the Bot Libre website and navigate to your bot's admin console by clicking on the gear icon in the bottom menu.

Next, click the "Voice" link.

Select "Microsoft Speech" from the "Speech Provider" dropdown.

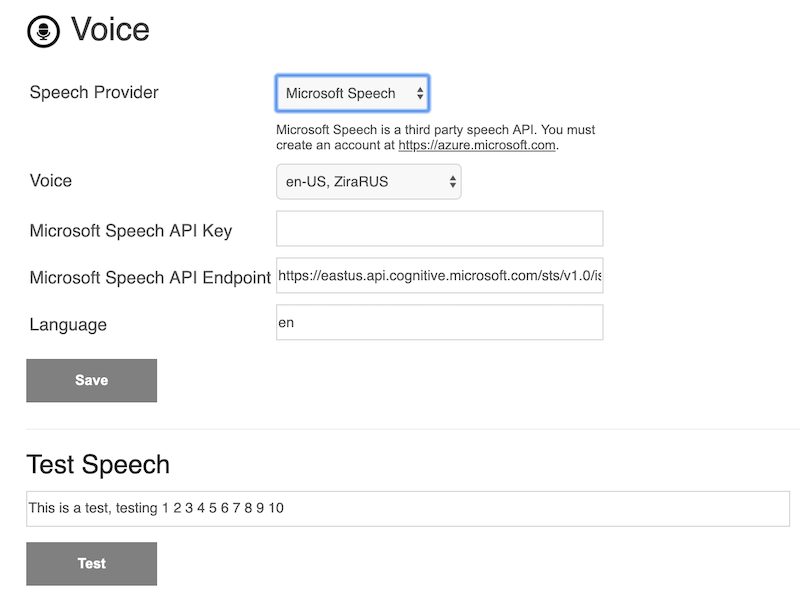
Enter the API Key that you copied to the clipboard in the previous step into the "Microsoft Speech API Key" field.

Enter the URL noted from the previous step into the "Microsoft Speech API Endpoint" field.

Click the "Test" button to test that you have entered these values correctly. If you receive an error message, double check that you have entered the values correctly from the Azure portal.

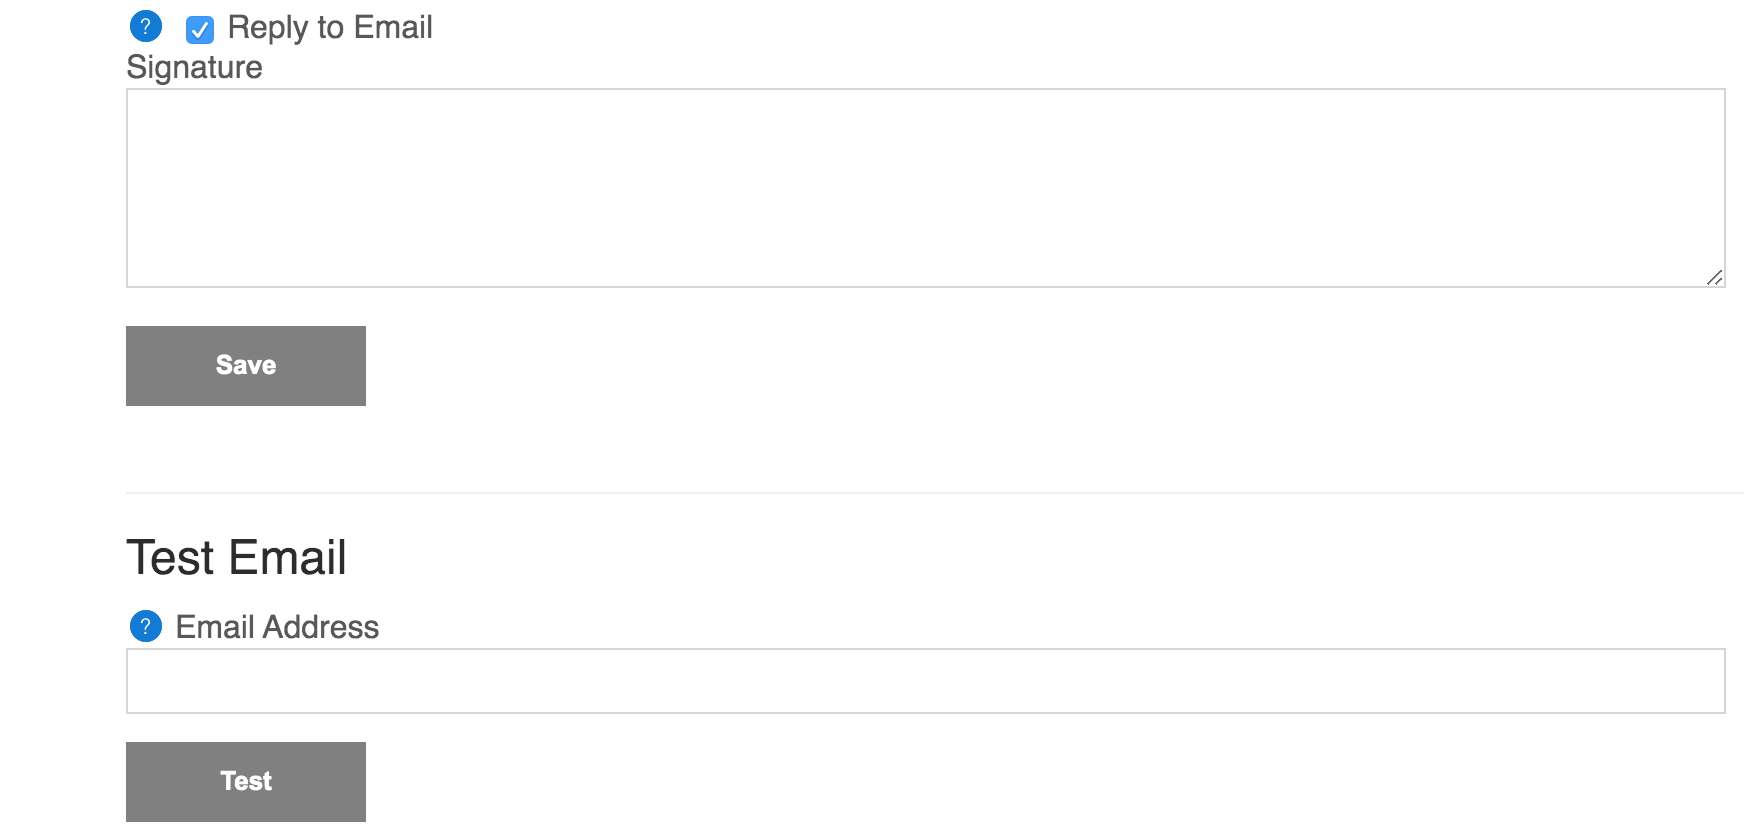
Click "Save" when you are finished.

Your bot will now be speak using the Microsoft Speech voice that you have selected. If you encountered any issues, or would like help setting up your bot please email us at support@botlibre.com or upgrade to our Platinum service and we can build your bot for you.

Tuesday, November 12, 2019

How to Connect a Bot to Email and Gmail

Bot Libre allows a bot to be connected to email. This lets you create a bot to be your first tier of support or customer service for your business. The bot can answer common user questions and differ more difficult questions to your second tier support. Connecting a bot to email can also be used to let your bot send email notification from scripting, such as when a user wishes to escalate an issue from live chat. Email also provides a novel way to let people interact with your bot.

You can connect a bot to any SMTP, POP3, or IMAPS email account, such as Gmail. Connecting a bot to email can allow the bot to read and reply to email messages, and can let the bot send email from scripting. This post will show you step by step instructions on how to connect your bot to a Gmail account.

Step 1 - Create Bot

First you must create the bot that you want to connect to Gmail, or you can use one of your existing bots. To create a bot, follow the instructions here: How to create your own chat bot in 10 clicks.

Step 2 - Connect Bot to Email Account

In the admin console page of your bot click on "Email" link. This will take you to your bot's "Email" settings page.


Step 3 - Configure Email Settings


In the "Email" text input field enter the Gmail email address. In the "User" text input field enter the same email as above. In the "Password" text input field enter the password that you use to login to this email address.

A bot can be connected to an email account in two ways. The bot can either just use the email account to send messages (such as a script that escalates issues through email), or the bot can check for new messages and reply to all messages. If you want your bot to reply to new messages, enable "Reply to Email" check box. Then click save.

Upon successful user credentials authentication you should see the following message at the top of the page.


Note, if there is a problem with connecting your bot to gmail, then at the top of the "Email" page you will see a message highlighted in red colour. At this point go to Step 5 and adjust your email settings.


Step 4 - Test your bot to email replies

In the "Test Email" text input field enter an email to which you want your bot to send message to and click "Test" button. At this point you should see a new "test" message appear in your email.

To test bot's reply to any new messages in your user email account, first send a new message to user@gmail.com account from another account. At this point your user@gmail.com account has a new message. Since the "Reply to Email" check box is enabled there should be grey "Check Email" button to the right of yellow "Disconnect" button. Click on "Check Email" button. At this point the bot will send a reply message to an email that originated the original message.

Note, be careful. Since the "Reply to Email" check box is enabled, the bot will reply to all the new email coming in to the user@gmail.com account. How often the bot checks it messages depends on your account level. For a Bot Libre for Business account the bot will check its email about every 5 minutes. For a Basic Bot Libre account the bot will only check its email once per day.

To disconnect a bot from user@gmail.com account, click on yellow "Disconnect" button. At this point your bot is no longer connected to user@gmail.com account and will not reply to any new messages.

Step 5 - Configuring Gmail Account Settings

By default Gmail does not allow external apps to access an email account. You must enable a few settings in Gmail to enable this.

Sign in to you gmail account. Then click on settings icon and choose settings from the drop down. Then select "Forwarding and POP/IMAP. Make sure "IMAP access" is enabled. Click on "Save Changes" button at the bottom for changes to take effect.


In addition, make sure that you gmail account has "Less Secure Apps" option enabled. For this follow this link Less secure apps access.

Click on option (1) under Turn off "Less secure app access" and click the button to enable it as shown in the image below. At this point you should successfully connect you bot user@gmail.com account by clicking on "Save" button once again.

Your bot should now be able to send and receive email. Please ensure your bot does not spam.