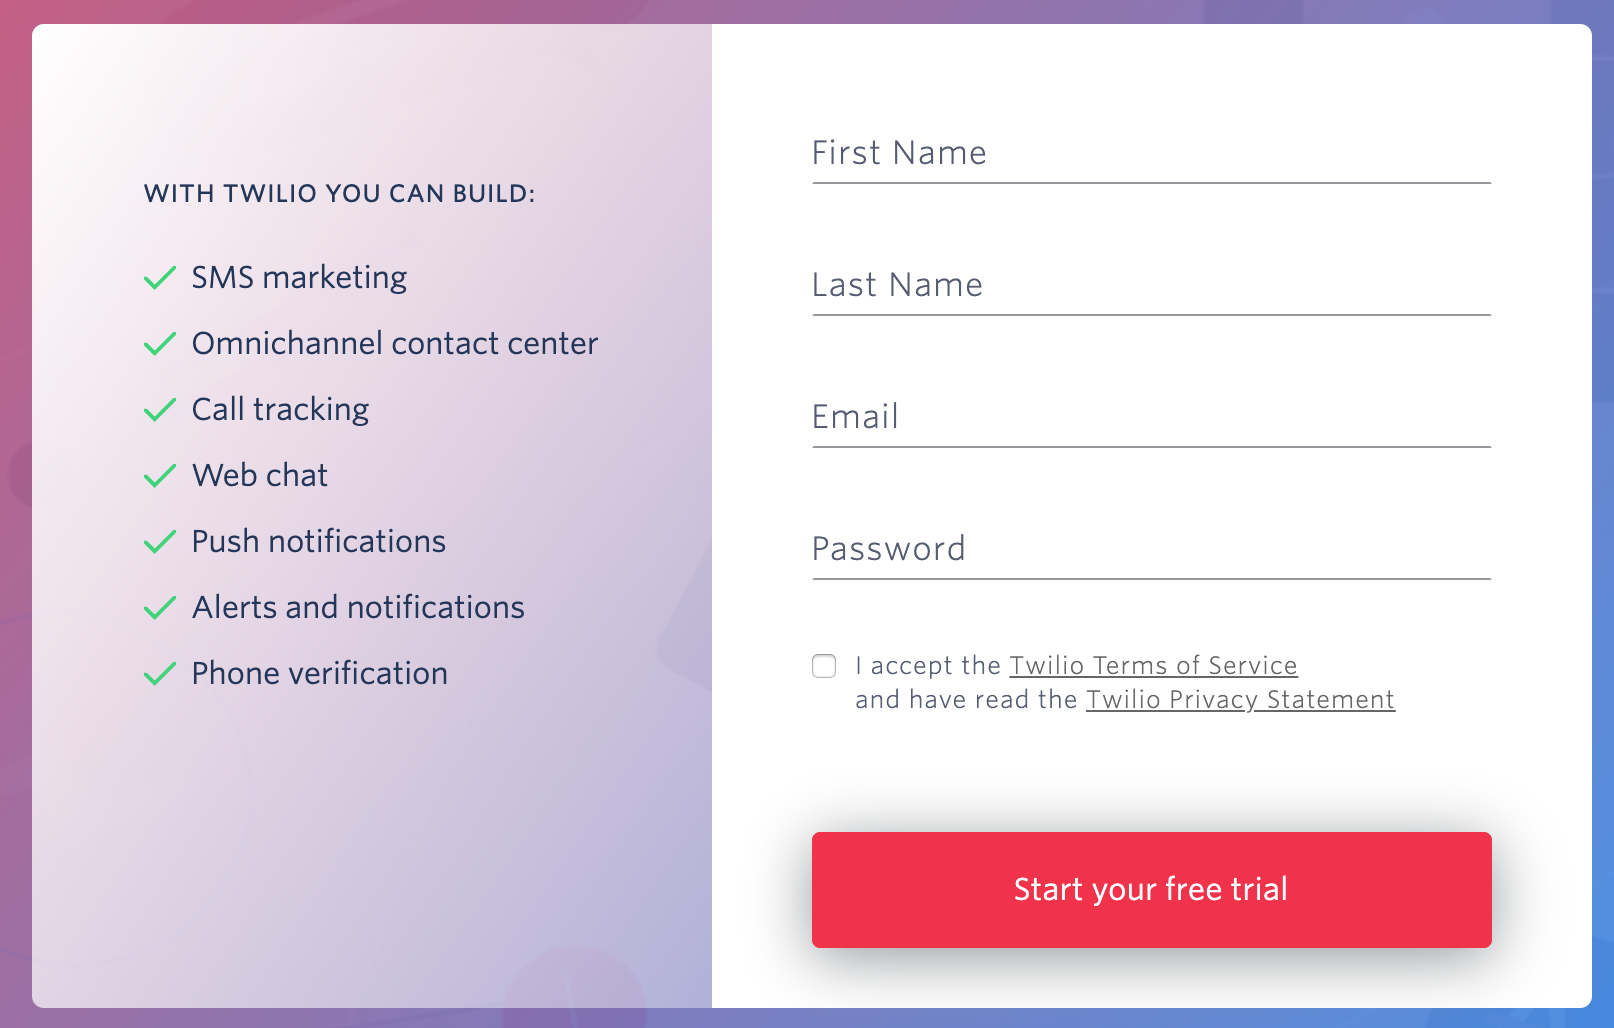
To begin creating your own bot for your Music Streaming Service you must first create an account at botlibre.com or botlibre.biz.
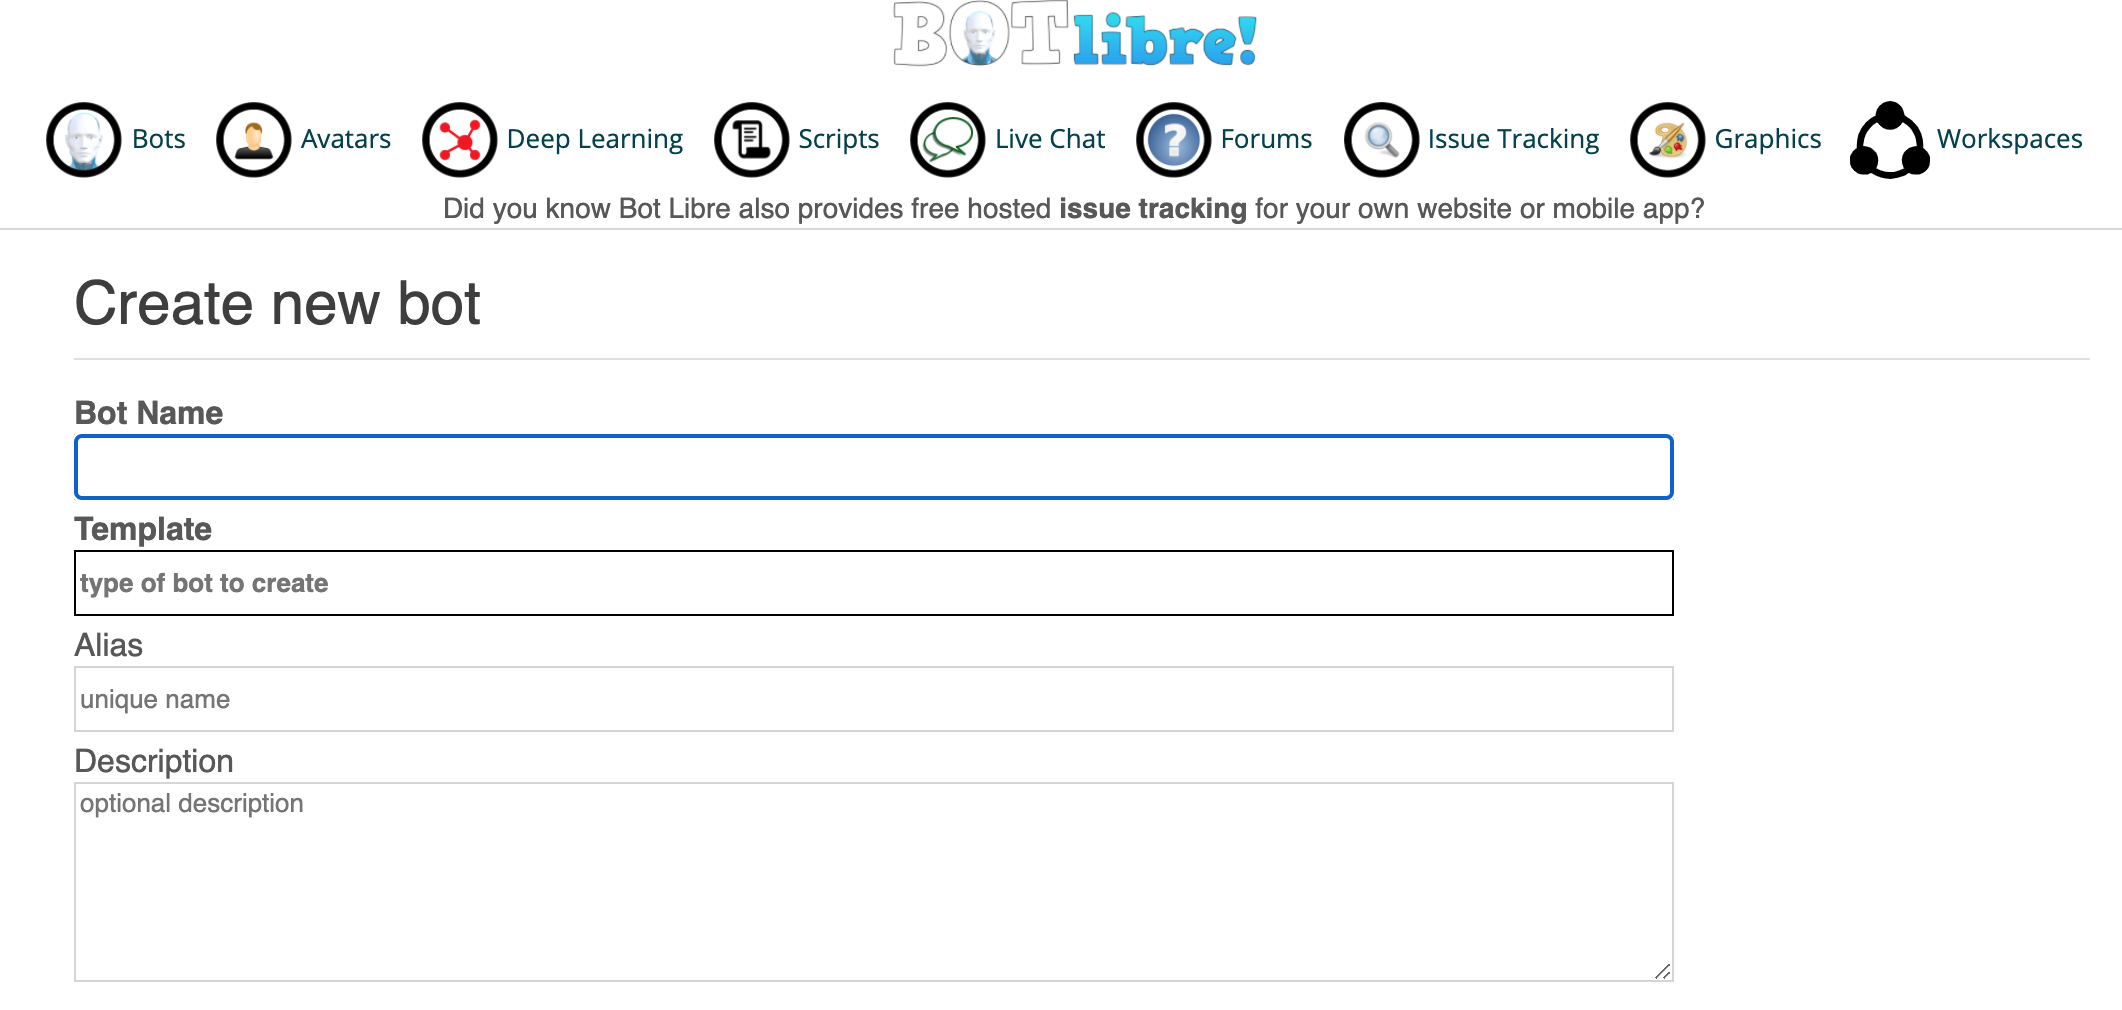
Once your account has been created, click on "Bots." Here you will be presented with several options, and you will then click on "New Bot" and will be presented with the following page:
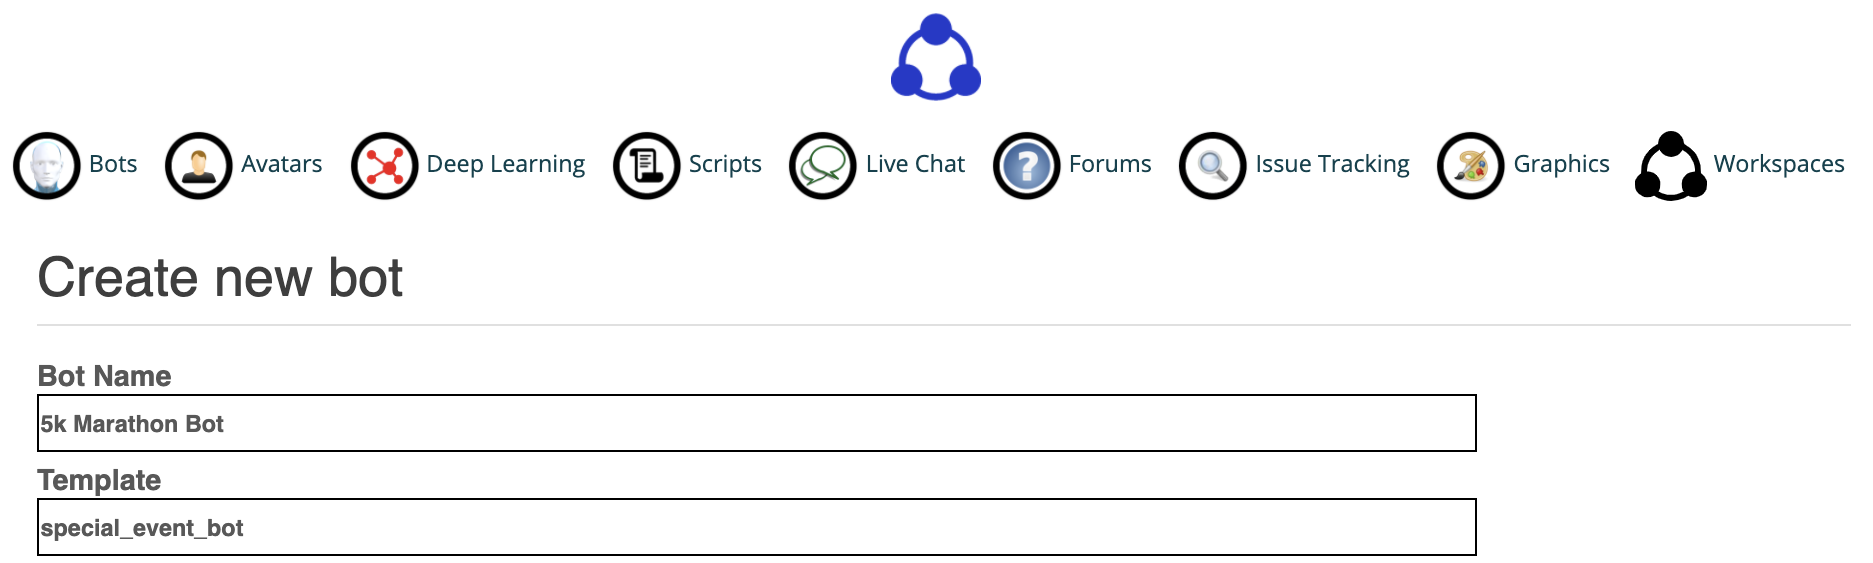
In the form, enter a "bot name" and set template to "music_stream_template" If you have a website you may enter your website URL into the "Website" field. You may leave the other fields empty and click the "Create" button at the bottom.
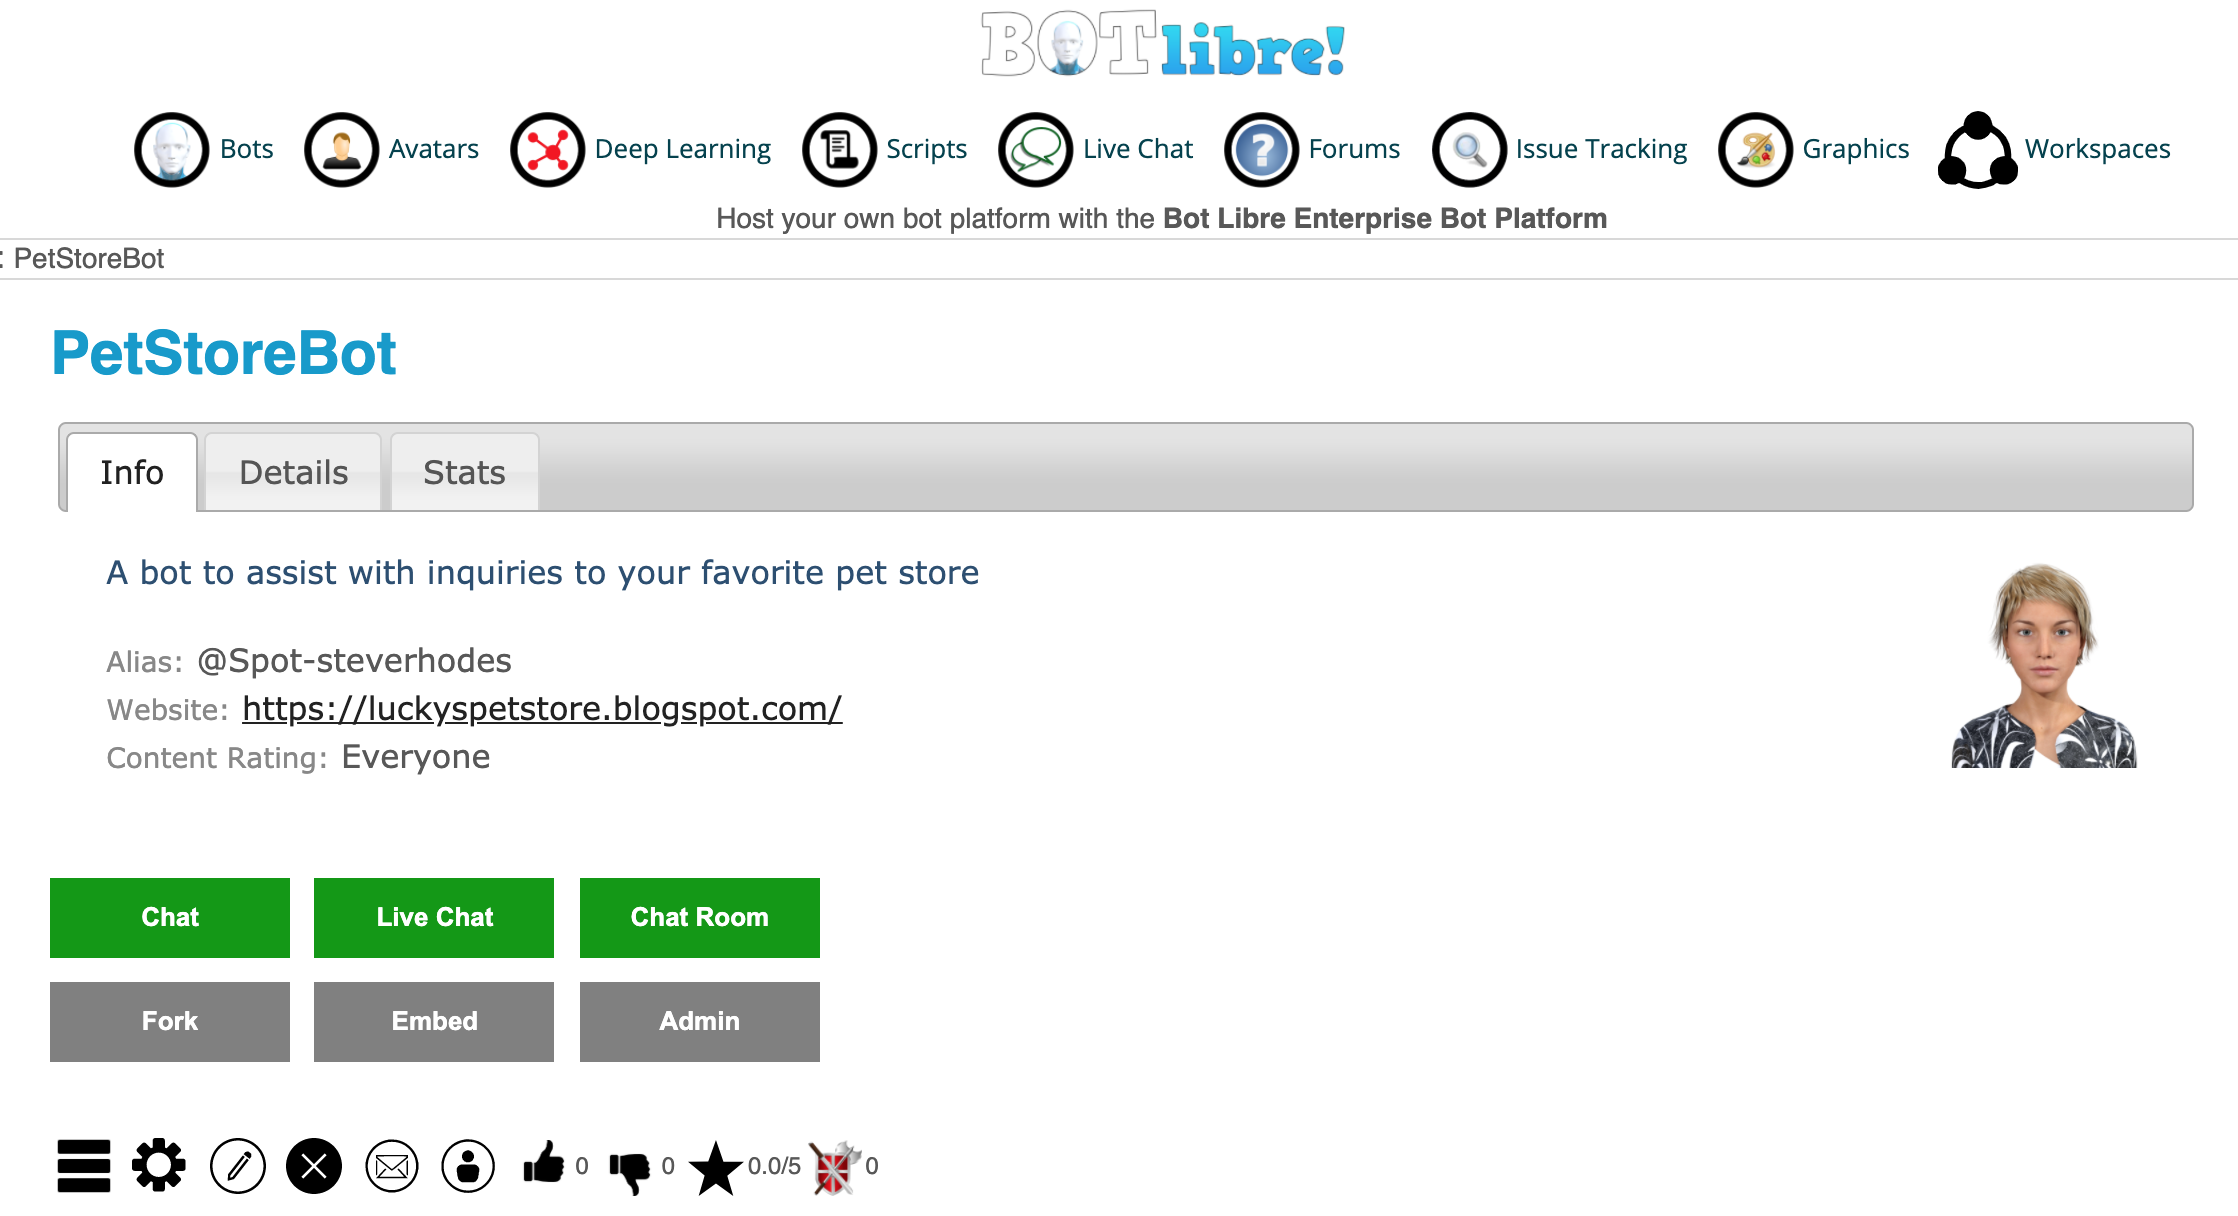
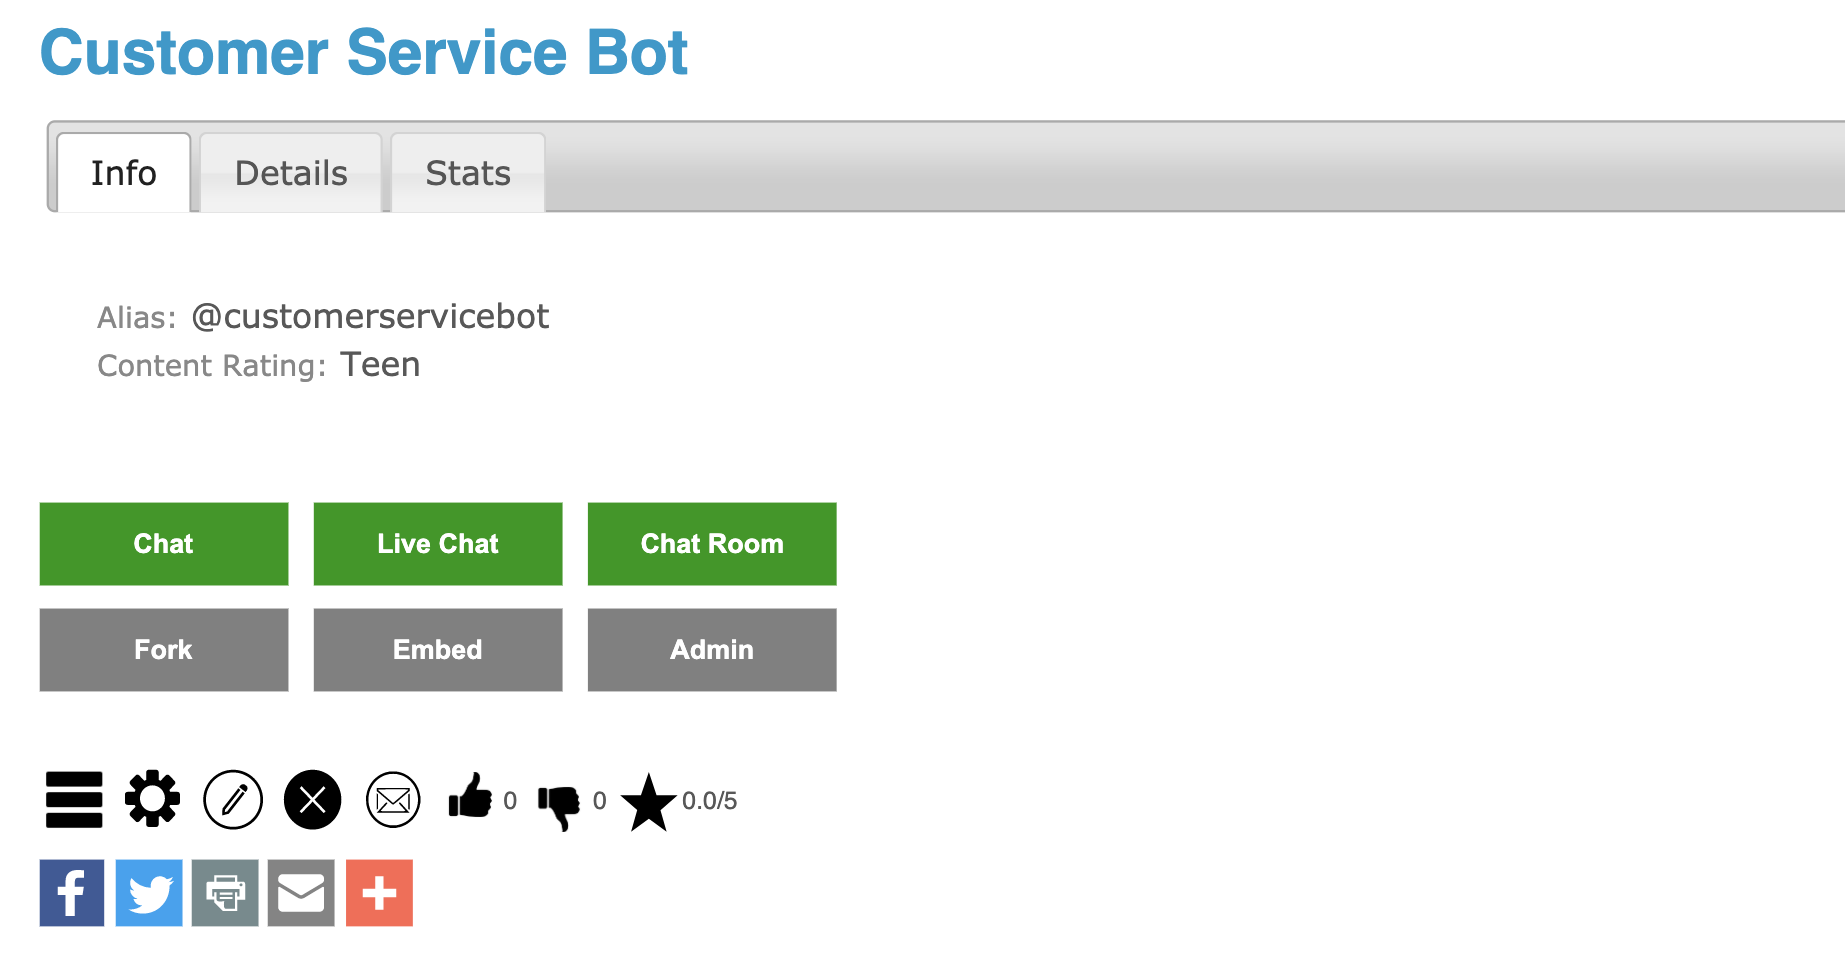
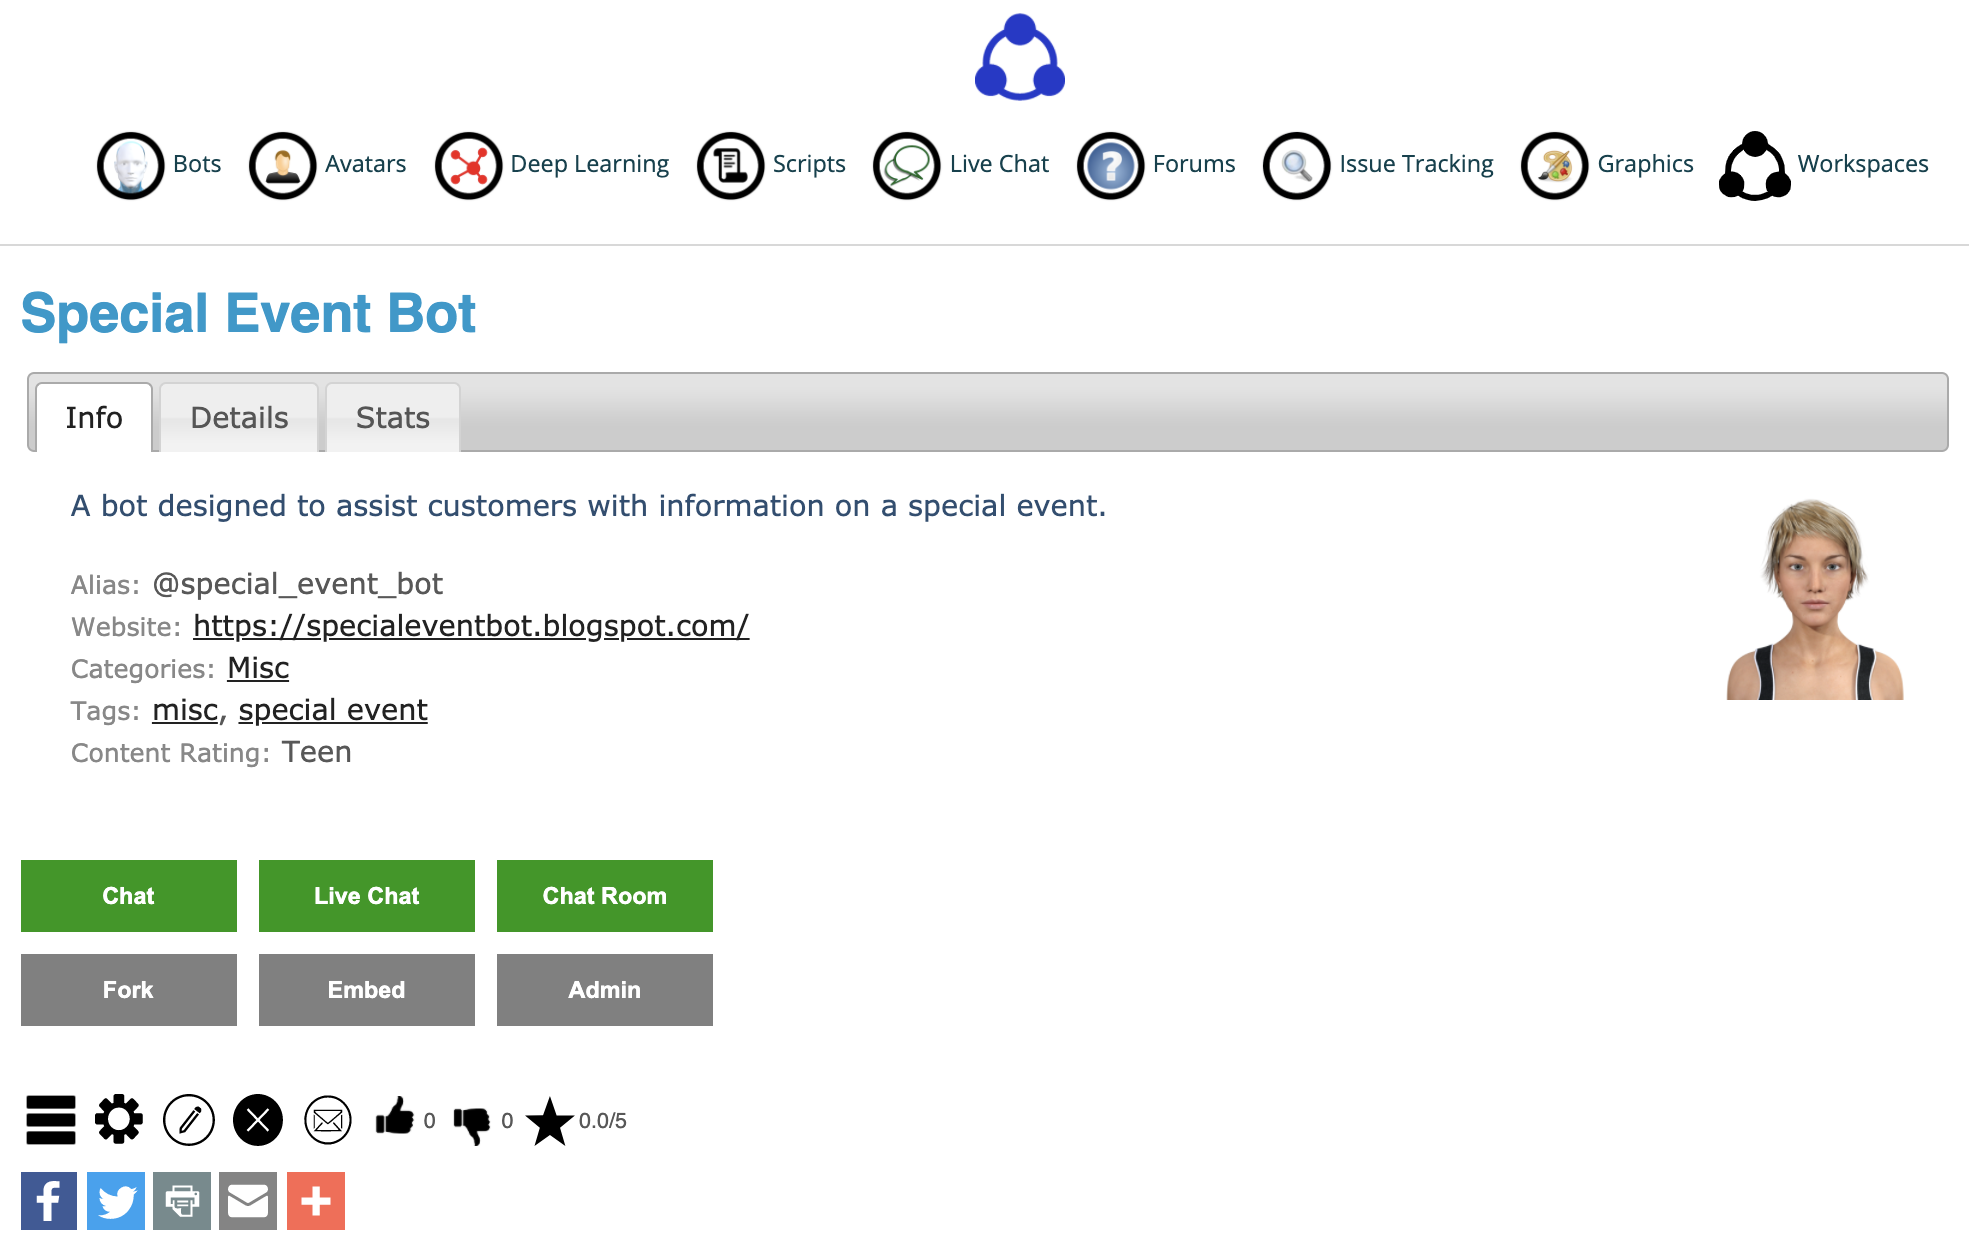
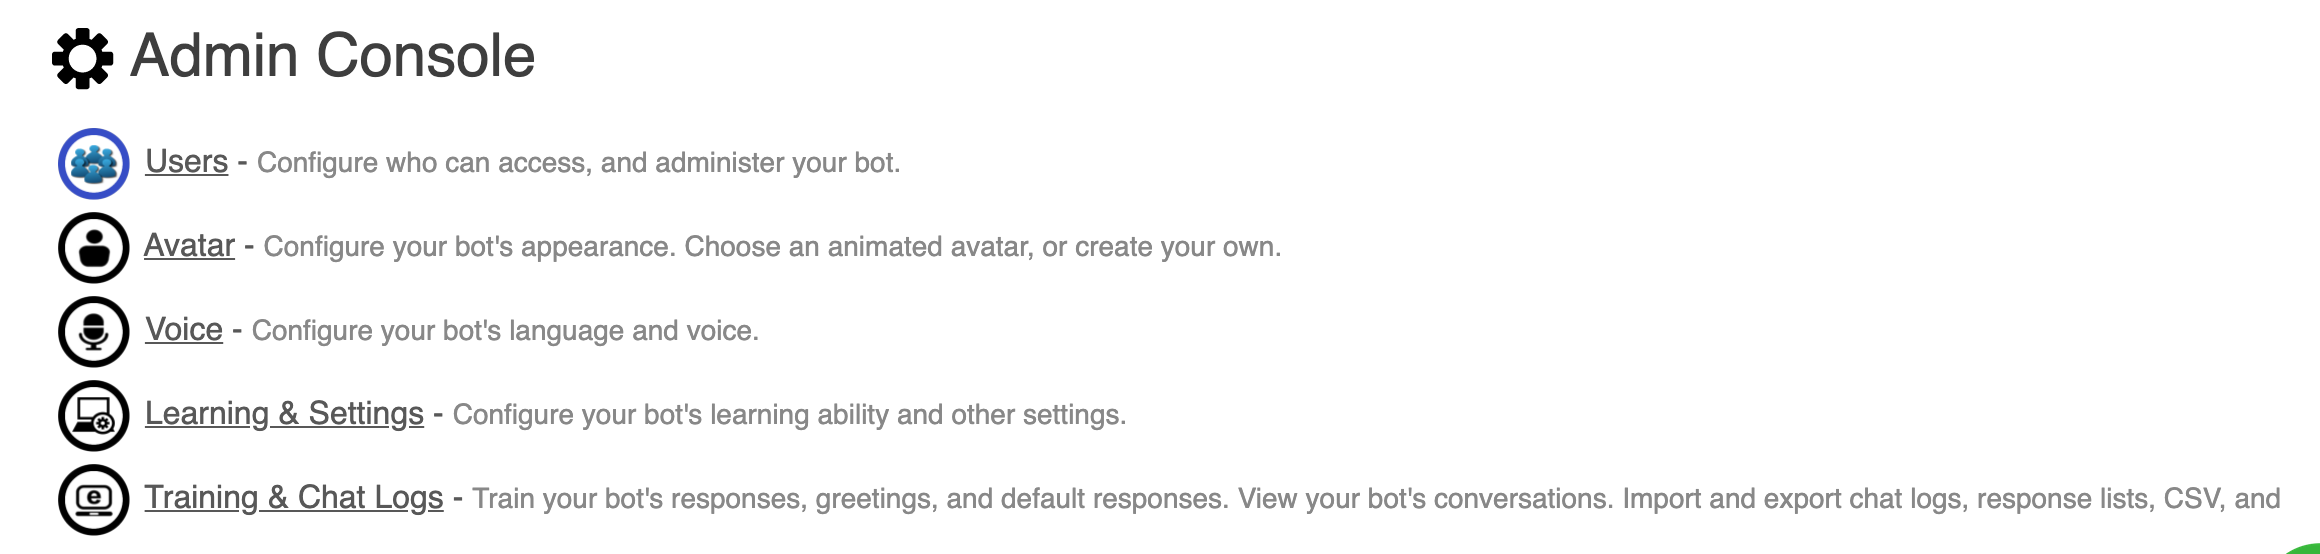
Your bot is now created. To give your bot set responses first click "My Bots" from the "Bots" page, and then click on your bot. Next click on "Admin Console" (the gear icon).

By clicking on "Embed" you can generate a script which can be embedded on a site like Blogger in an HTML/JavaScript gadget.
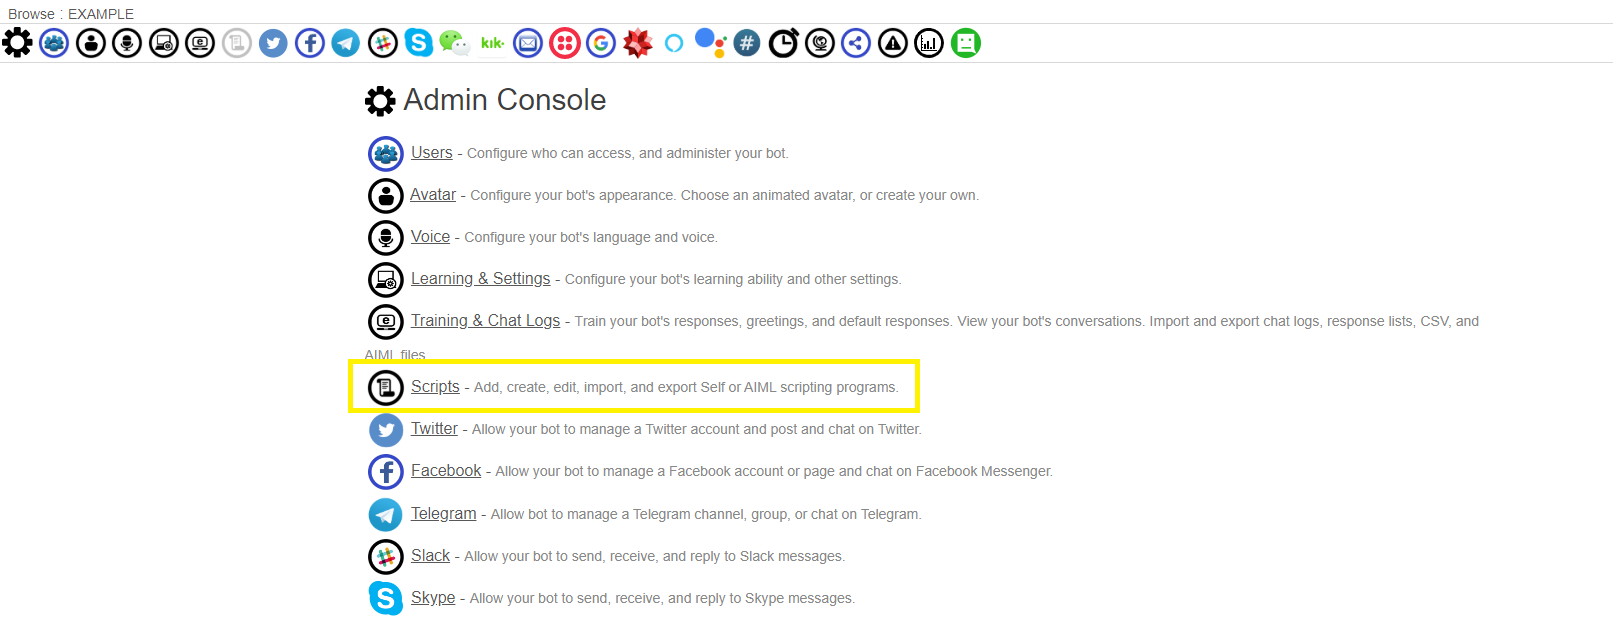
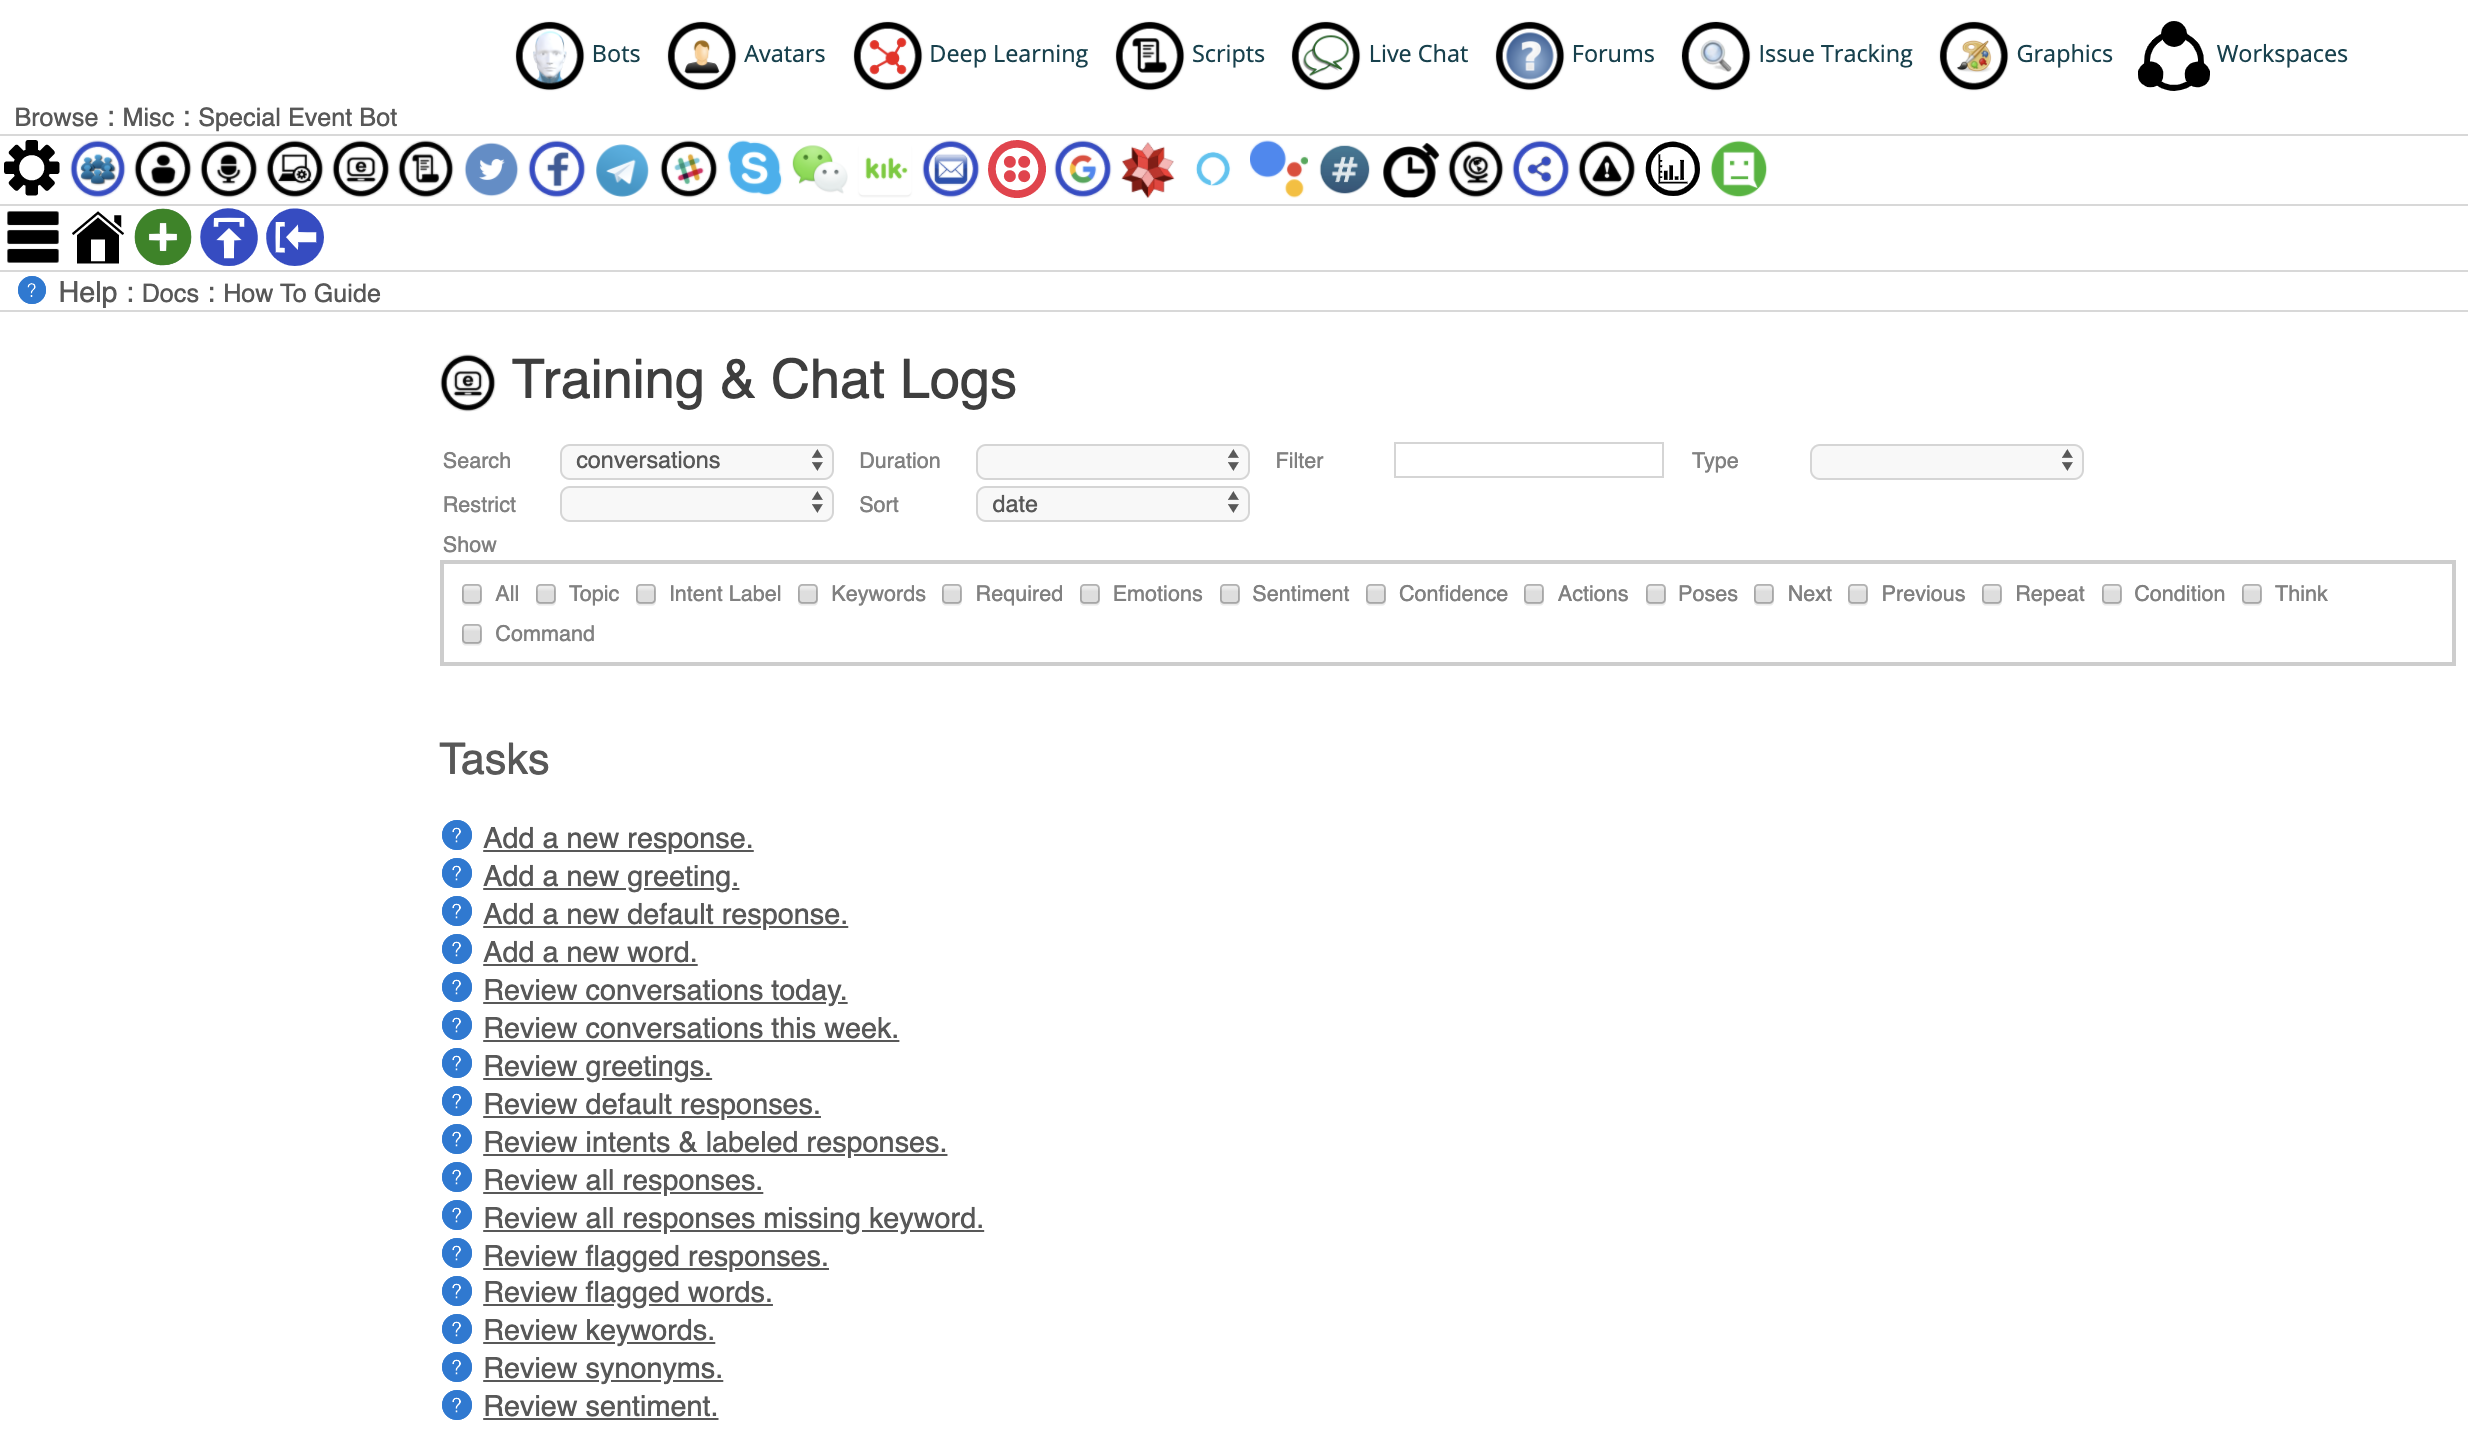
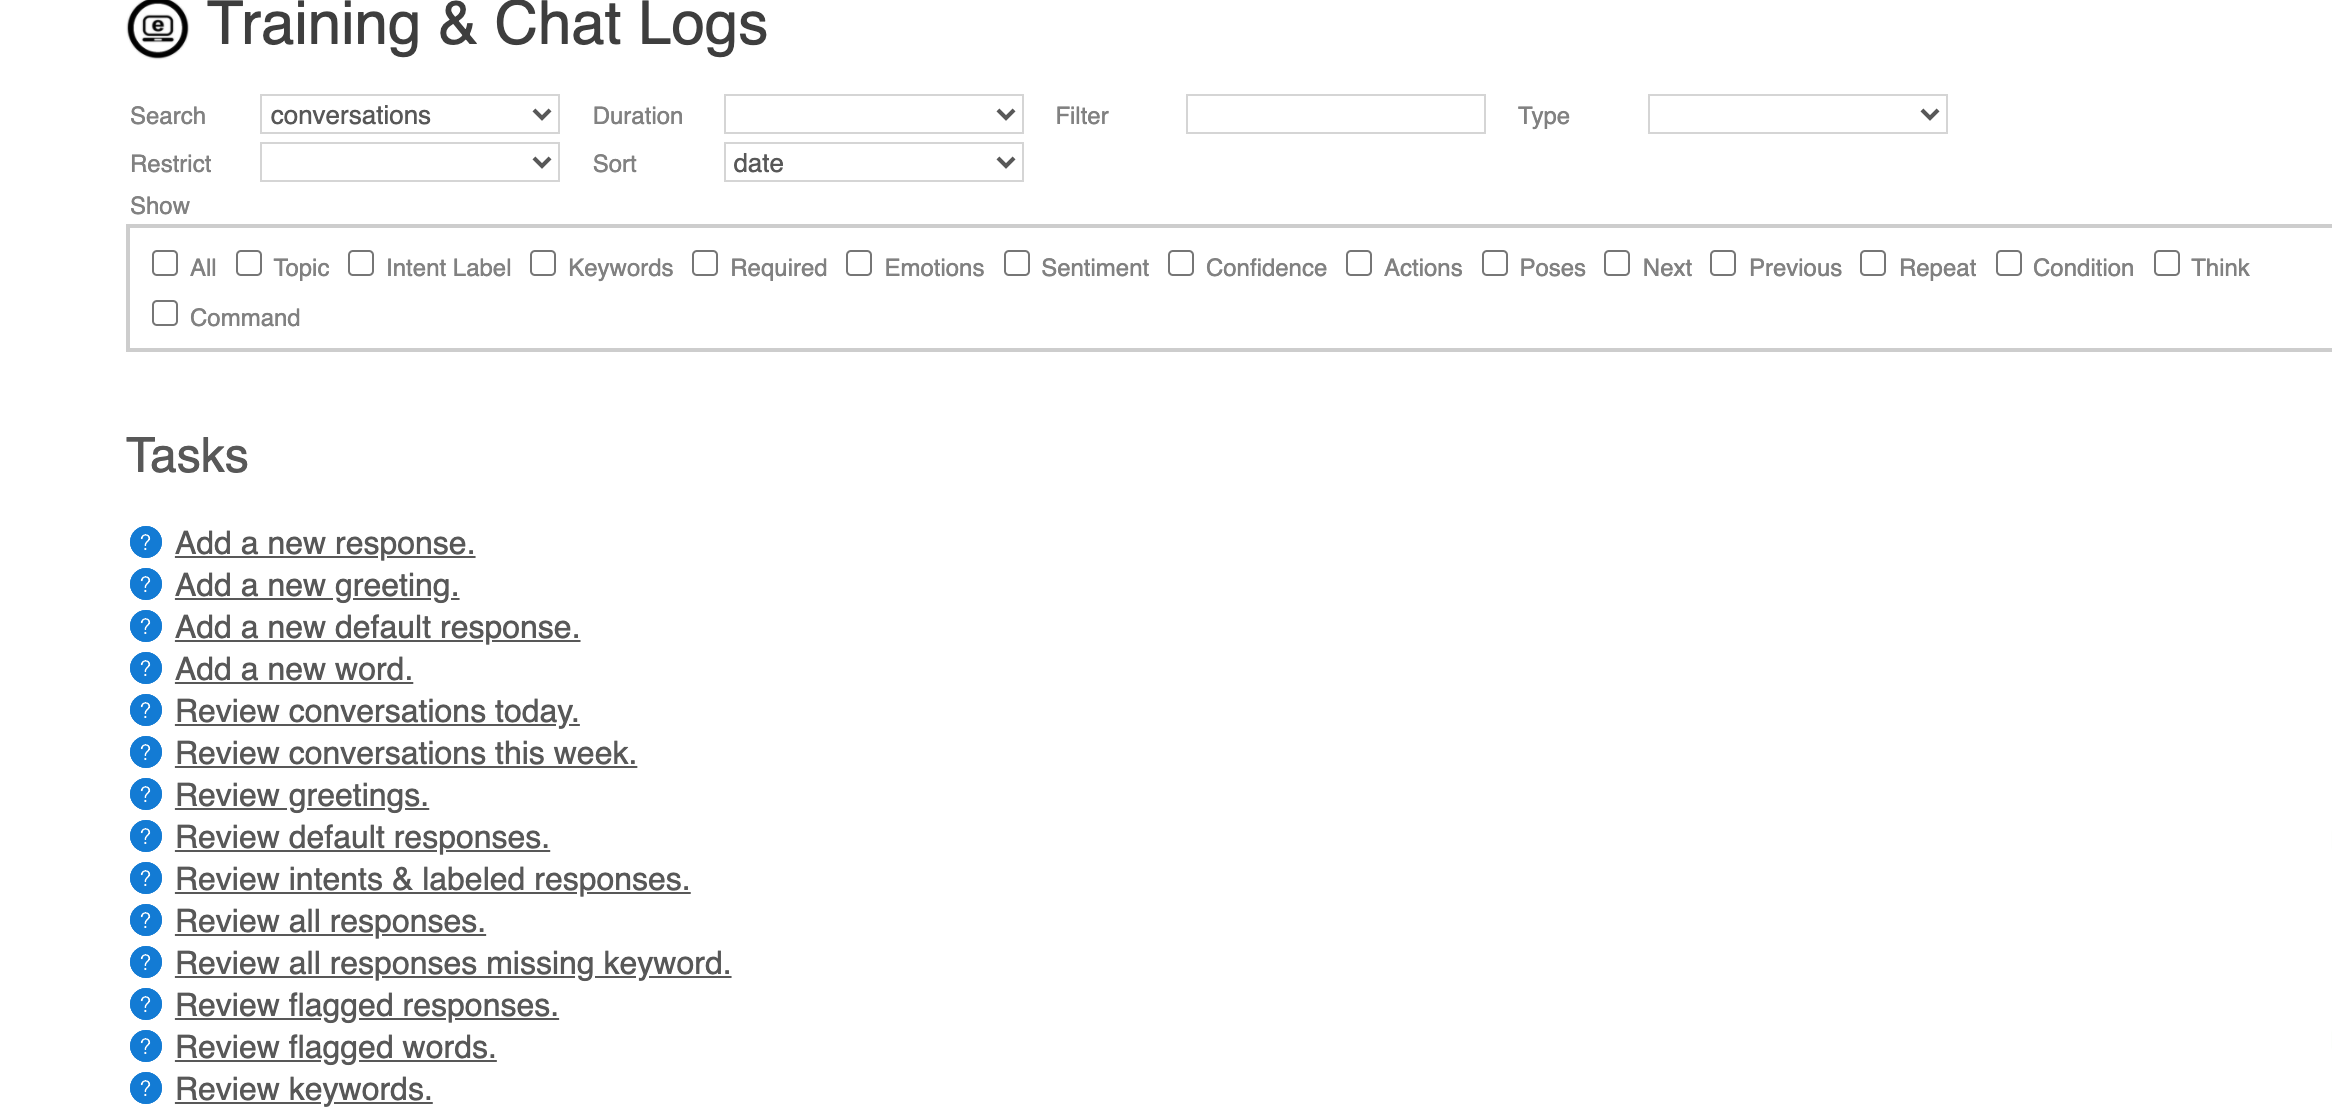
Once in "Admin Console" click on "Training and Chat Logs"
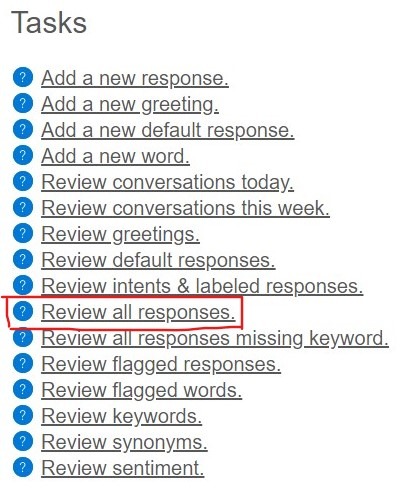
In Training and Chat Logs you can now:
a) Add, review responses
b) Add, review greetings
c) Add, review default responses & more
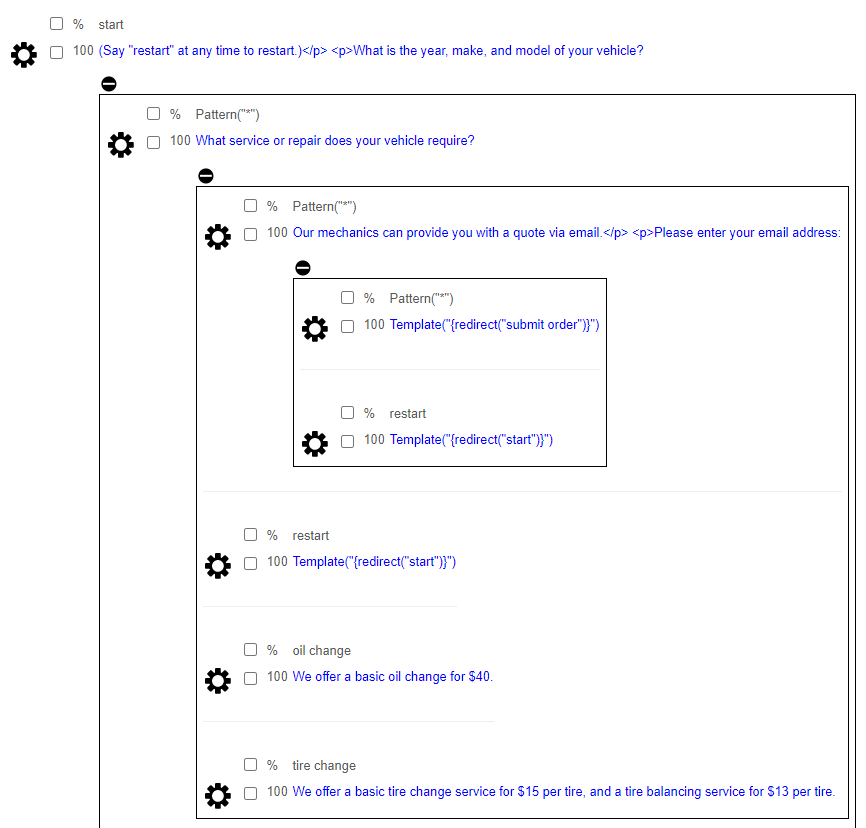
Here is the music streaming bot's response list.
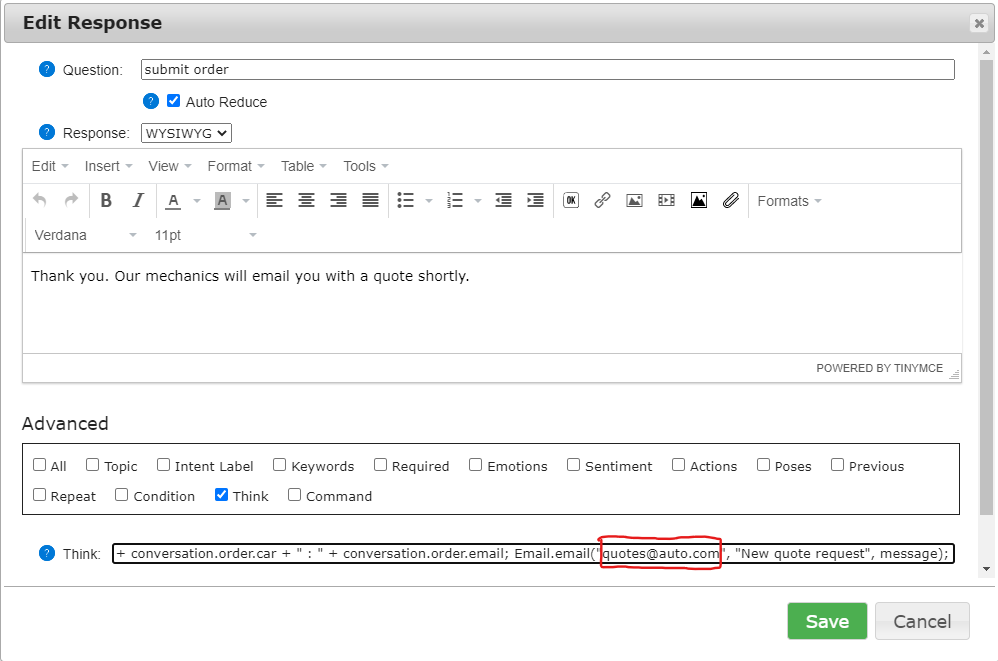
Here is an example response that uses a command to play music:
Today's Hits
playing today's hits...
command: { type: "music", cmd: "play", genre: "today's hits", url: "https://rfcmedia.streamguys1.com/MusicPulse.mp3" }
poses: dancing
The response list uses commands in the response to change radio stations. A command is a JSON string that can be attached to a response and passed to the bot client. We use some JavaScript code in the bot's embed code to play the music stream in the browser.
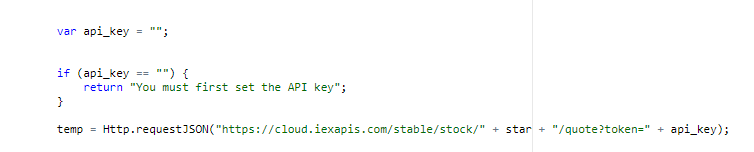
Here is the code that uses a Game object in the Bot Libre JavaScript SDK to receive command events from the bot:
var audio = new Audio();
function PlayMusic() {
    this.updateAvatar = function(response) {
        if (response.command != null) {
    		var command = JSON.parse(response.command);
    		console.log(command);
            if (command.cmd == "play") {
                audio.pause();
                audio.src = command.url;
                audio.play();
            } else if (command.cmd == "pause") {
                audio.pause();
            }
        }
    }
}
web.game = new PlayMusic();
Here is the music streaming JavaScript example code.
To test it out try our demo bot: Music Streaming Bot
To chat with the bot click on its subdomain link. This normal chat button does not allow adding custom JavaScript to the page, but the subdomain does.
To see this bot on a website template, check out this link: Music Streaming Service
If you have any issues with setting up your bot you may contact us at our email at support@botlibre.com or upgrade to our Platinum Service and we can create your bot for you.