Through Bot Libre, you can now use your own bot to send and receive messages using any Amazon Alexa device. This "How To" will give you a step by step process to connect your bot with Amazon Alexa.
Step 1 - Create a Bot
First you must create a bot that you want to connect to Alexa, or you can use one of your existing bots. To create a bot, follow the instructions here: How to create your own chat bot in 10 clicks.
Step 2 - Amazon Developer Console
Click the "Sign In" button to sign into or create a new Amazon Developer account.

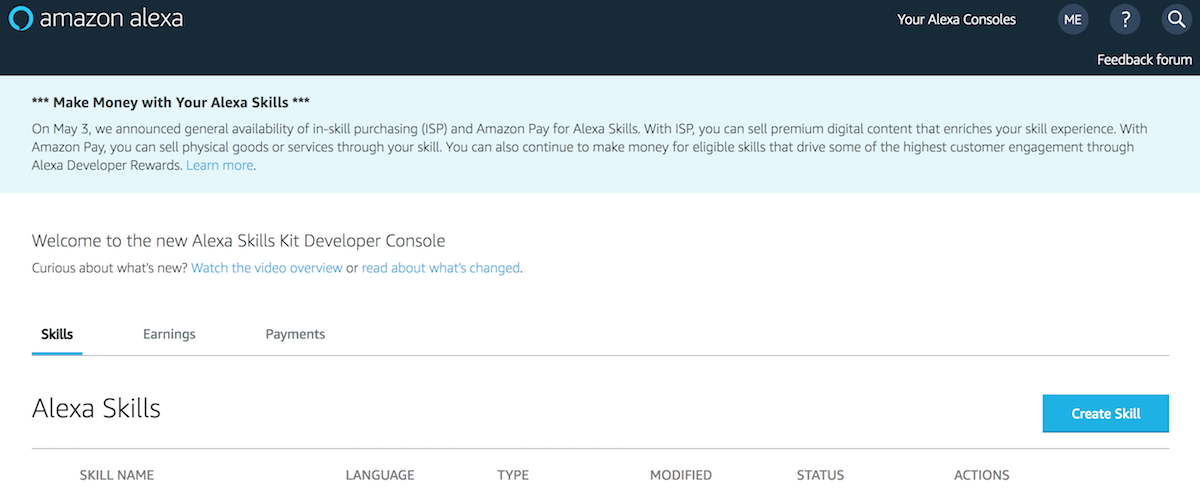
Once you have signed in, mouse over "Your Alexa Consoles" and select "Skills".

In the Alexa Skills Console, click the "Create Skill" button to continue.
Enter a name for your Alexa skill and select the language you will use. You will be able to add more languages later. Your skill will only work on devices set to this language, so a skill set to English(UK) won't work on a device set to English(US), for example. Make sure "Custom" is selected at the bottom, then click the "Create skill" button.

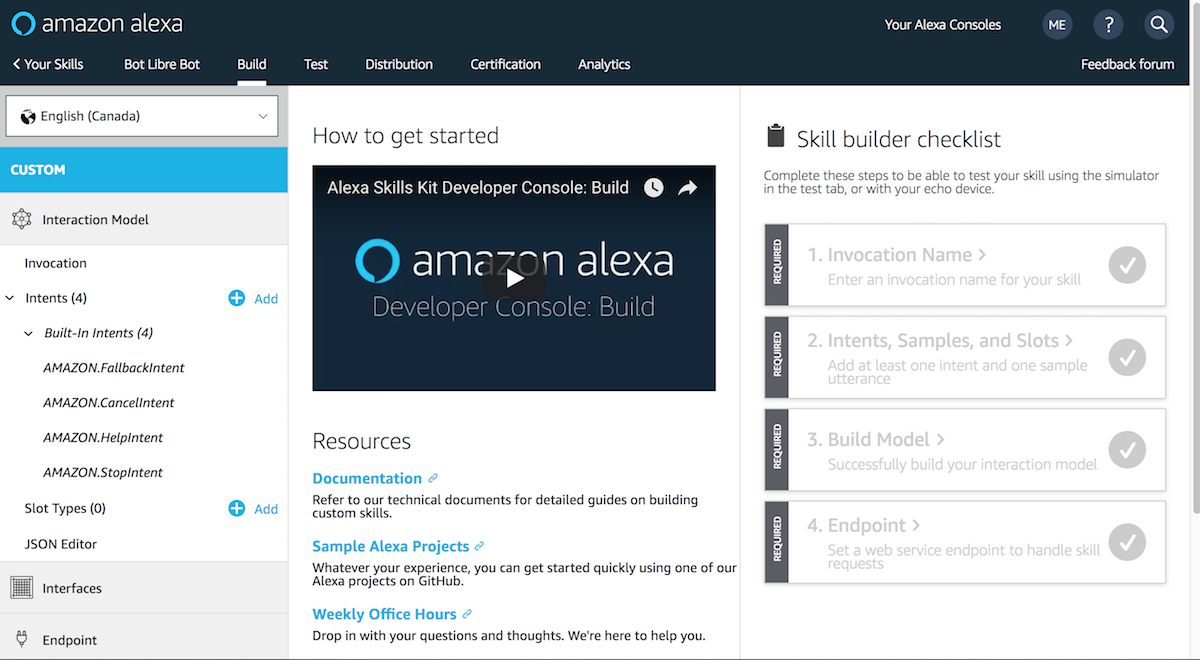
Step 3 - Create Interaction Model
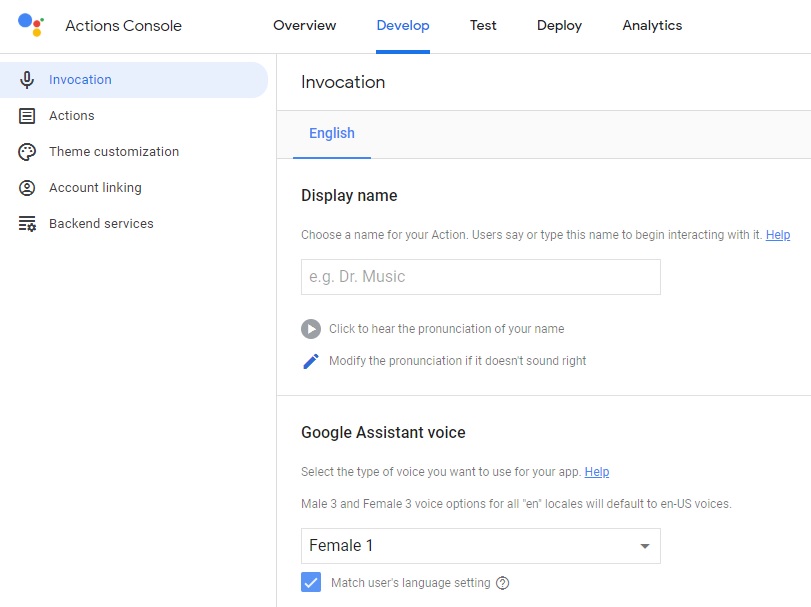
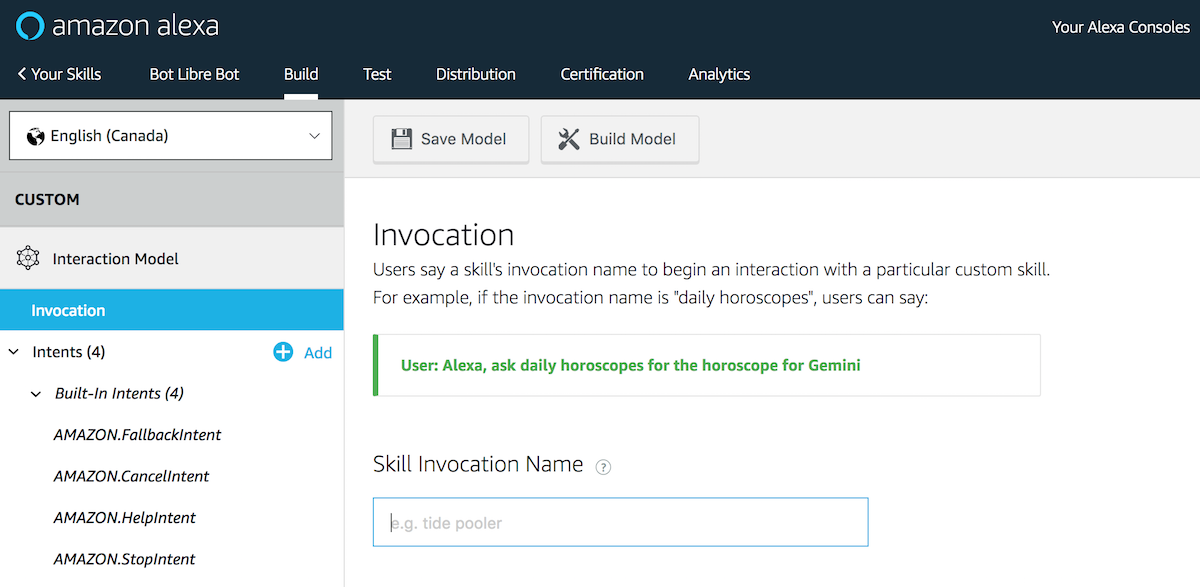
Click the "Invocation" option in the left sidebar under Interaction Model.
In the "Skill Invocation Name" field, enter the name the user will use to begin interacting with your bot. The invocation name should be two or more words. Click the "Save Model" button when complete.
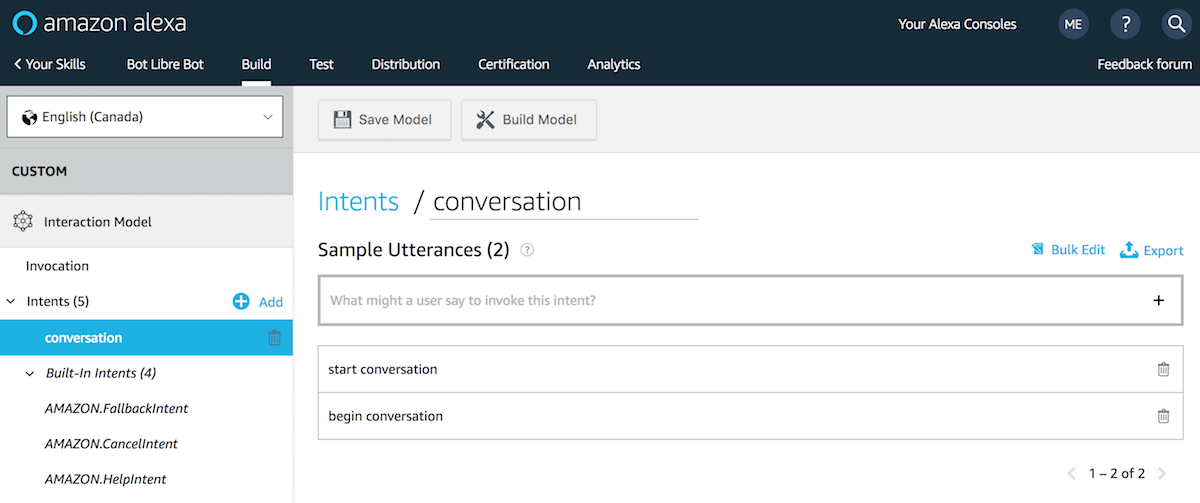
Click the "+ Add" button next to "Intents" in the left sidebar. Enter a name into the field, it does not matter what it is. I will enter "conversation" in my example. Press the "Create custom intent" button.

In the "Sample Utterances" field, enter some phrases that a user could say to signal their intent to speak with your bot.
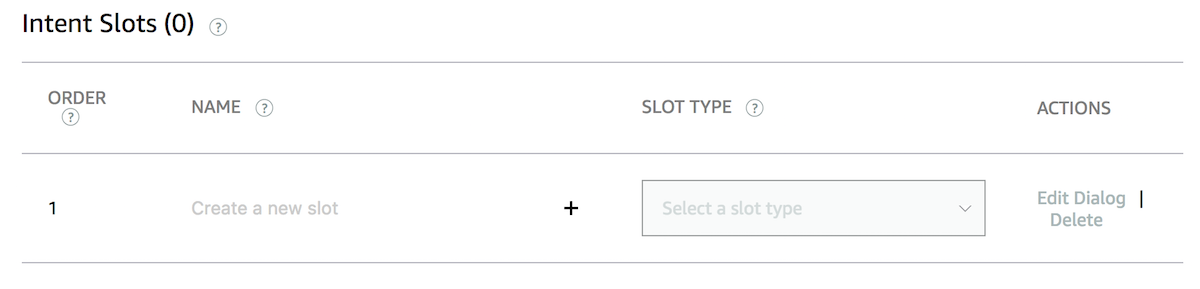
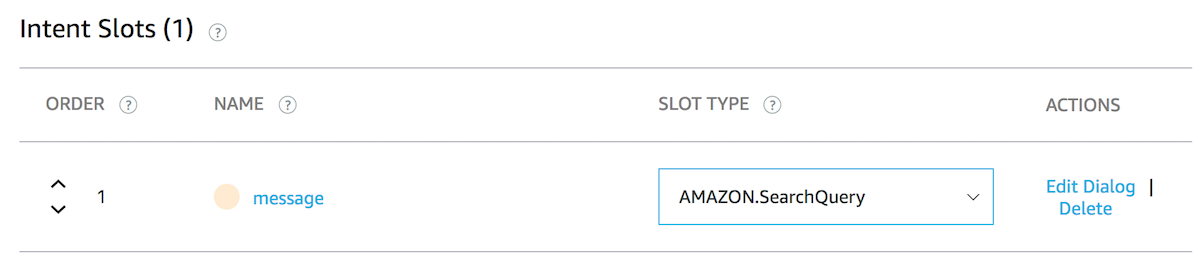
Scroll down to the Intent Slots section. Enter a name for the slot and press the "+" button. It does not matter what the name is, I will use "message" in this example.
Select "AMAZON.SearchQuery" for the slot type. Press the "Save Model" button when complete. Click the "Edit Dialog" text under "Actions".
Toggle the "Is this slot required to fulfill the intent?" option to the ON position. Enter any text into the "Alexa speech prompts" field. It does not matter what is says, it will not be used, but something must be there.
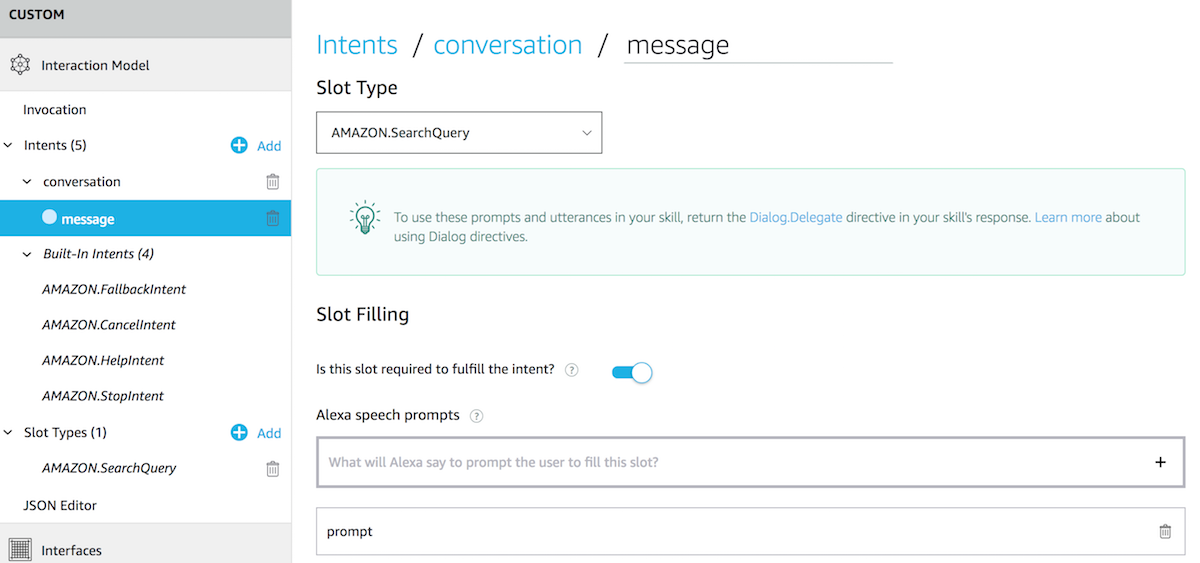
Press the "Save Model" button when complete.
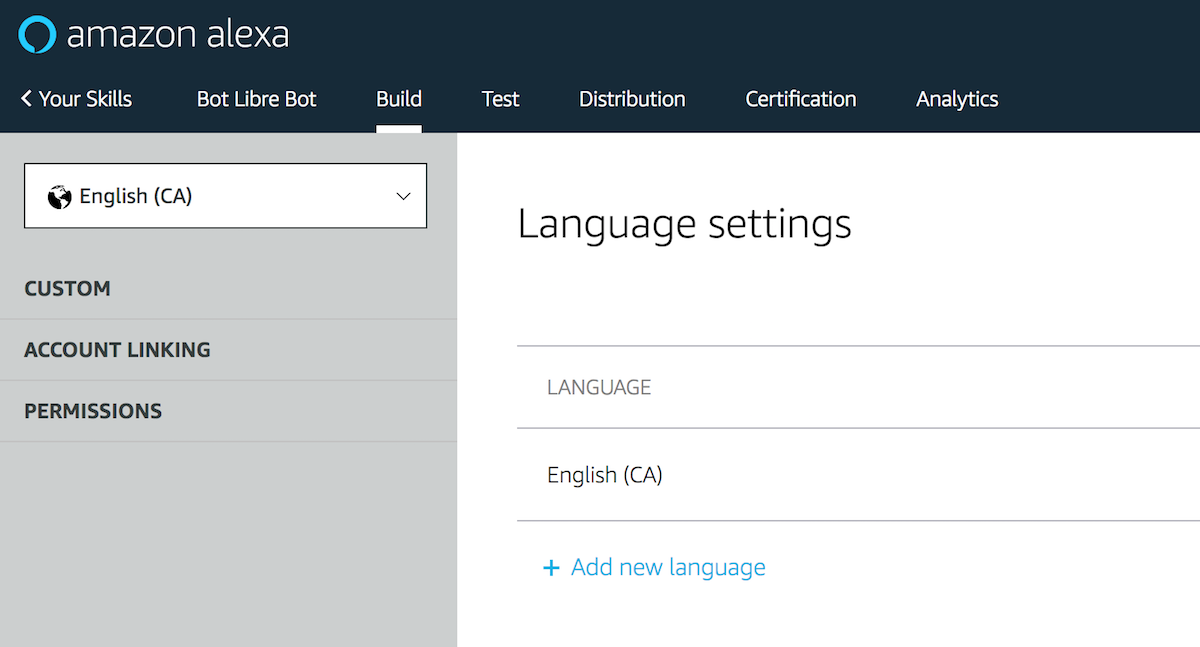
If you would like to add support for additional languages, click the language dropdown in the top-left, and select "Language Settings".

Click "+ Add new language" and select the language(s) you would like to add support for. You will then need to complete the Interaction Model (step 3 in this guide) for each new language you've added.
Then click the "Build Model" button and wait for it to finish.
Step 4 - Enter Endpoint
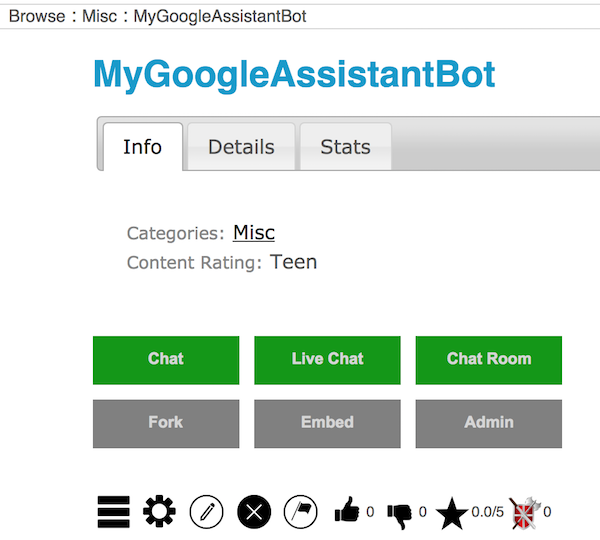
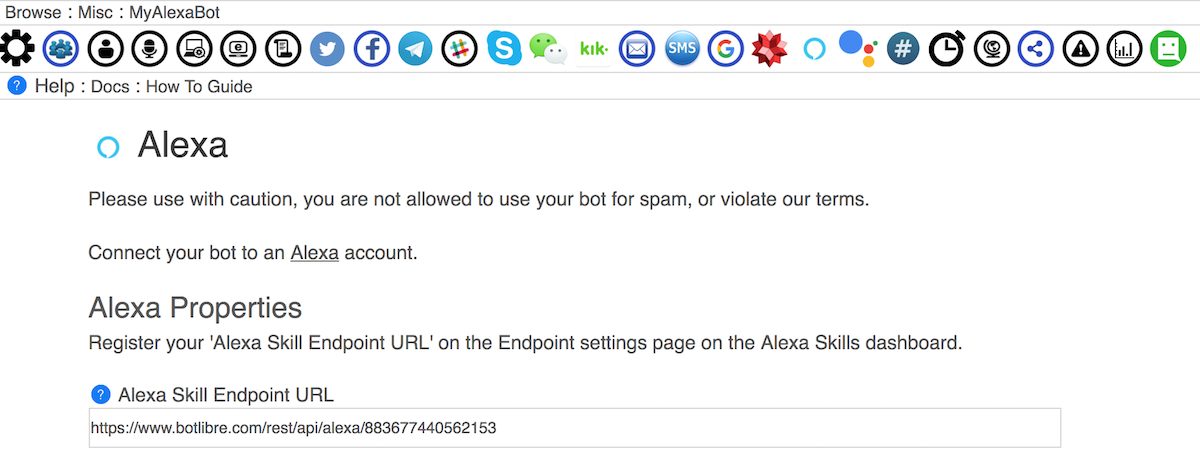
Return to the Bot Libre website and navigate to your bot's Admin page by click the gear icon on your bot's page.
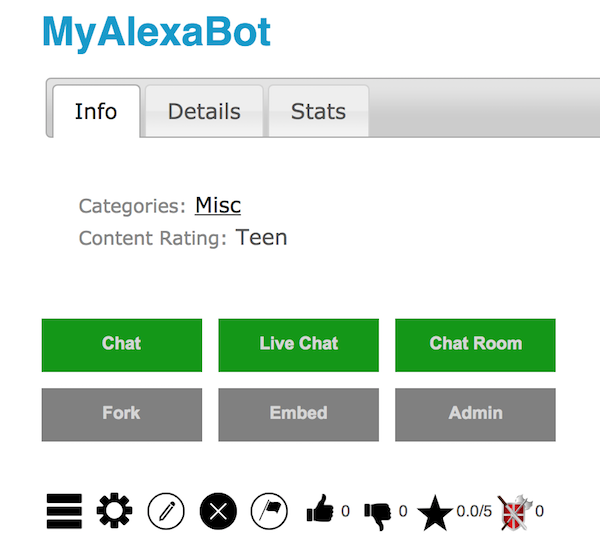
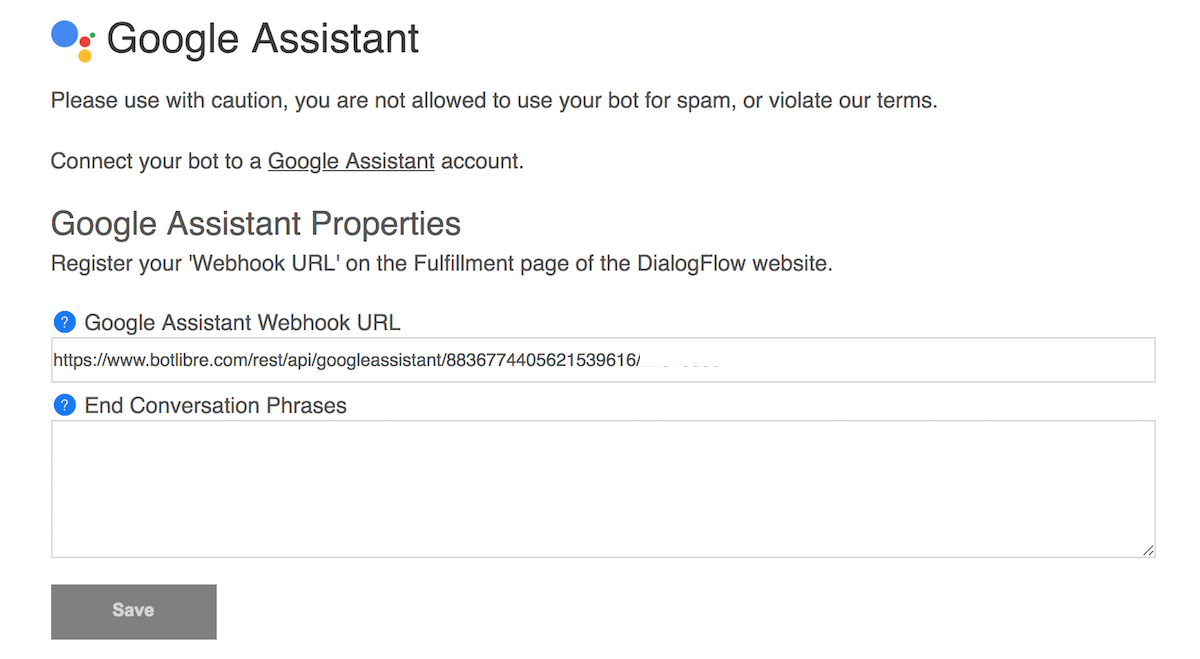
Select the "Alexa" option to enter the next screen. Copy the "Alexa Skill Endpoint URL" to your clipboard.
Return to the Alexa Skills Console and click the "Endpoint" button on the left sidebar. Select the "HTTPS" option.
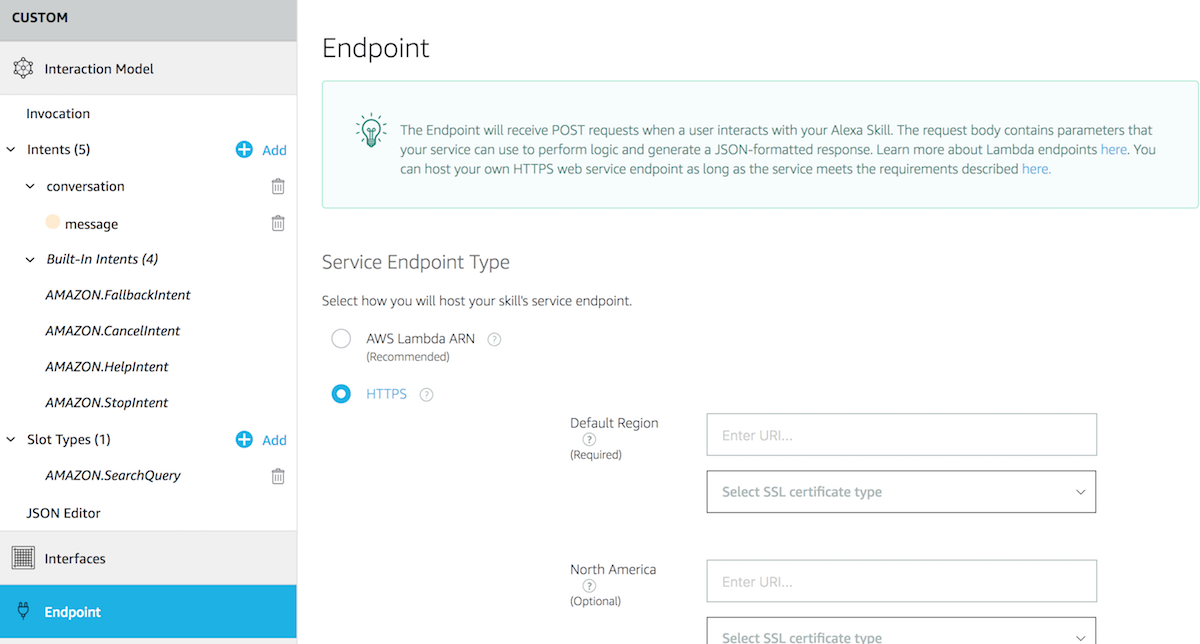
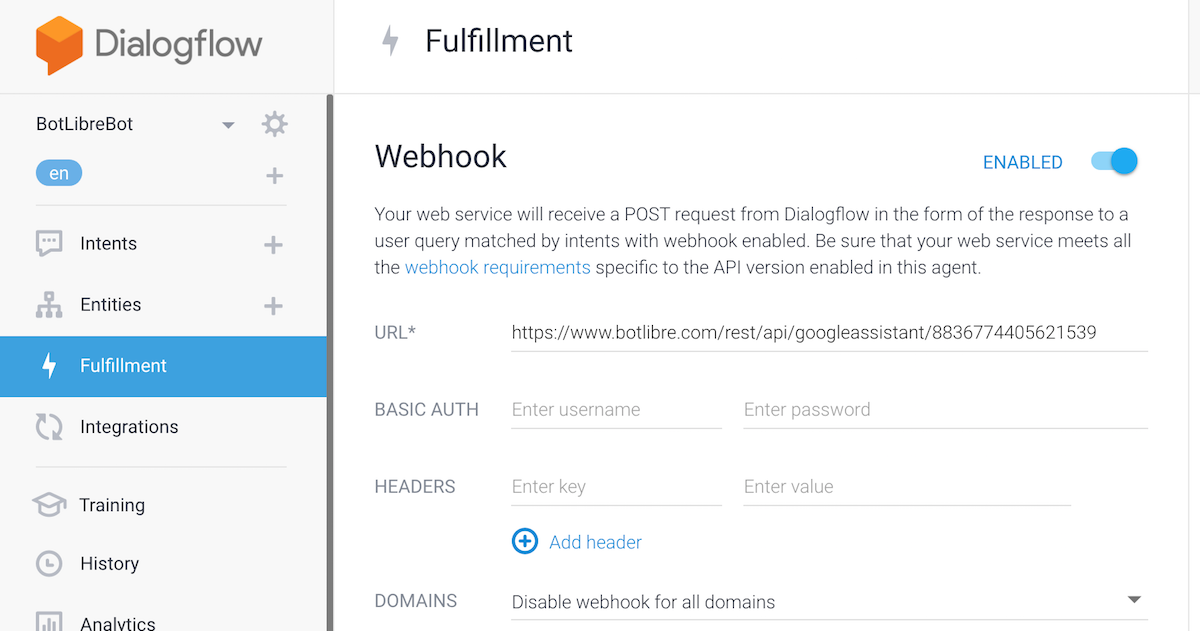
In the "Default Region" section, paste the "Alexa Skill Endpoint URL" into the "Enter URL" field, and select "My development endpoint has a certificate from a trusted certificate authority" in the "Select SSL certificate type" dropdown.

Click the "Save Endpoints" button at the top of the page.
Step 5 - Bot Libre Settings
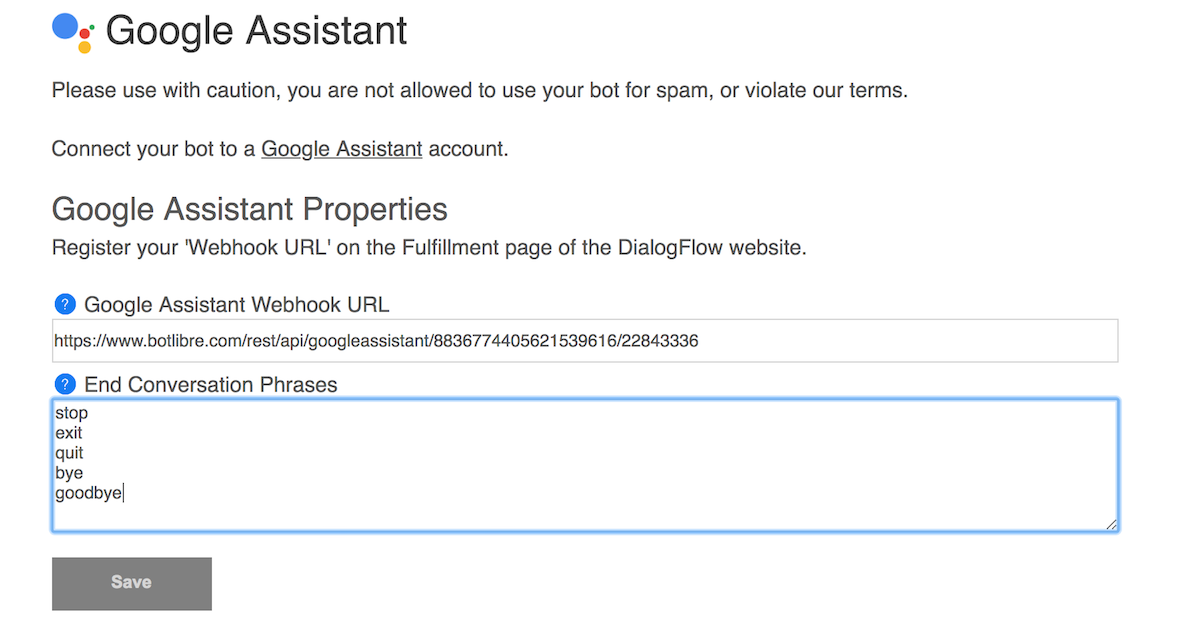
Return to the Bot Libre website and navigate to your bot's Alexa settings page. You will need to enter some responses to handle Alexa's built-in intents. These will only be active until the conversation with your bot begins. After the conversation has begun, your bot will handle all responses. In the "End Conversation Phrases" box, enter some phrases/words the user can say that will cause the conversation to end.
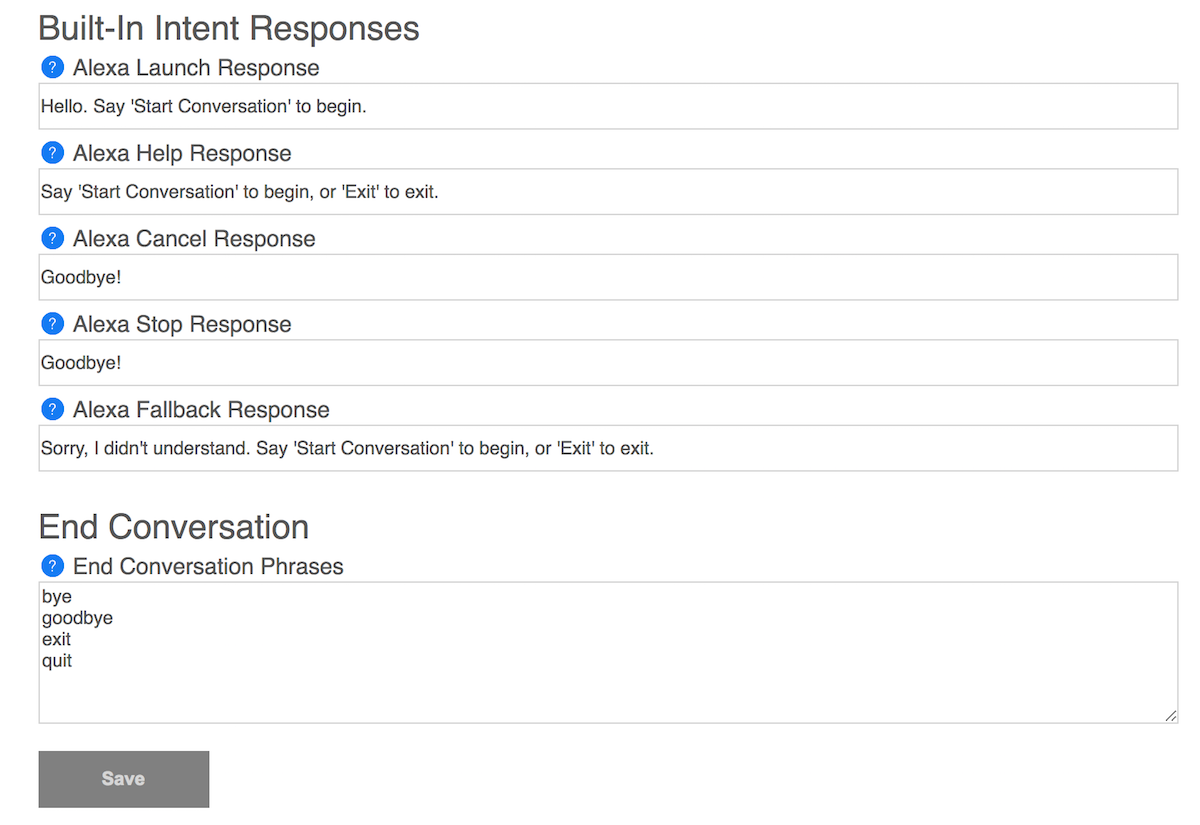
Click the "Save" button when complete.
Step 6 - Finish
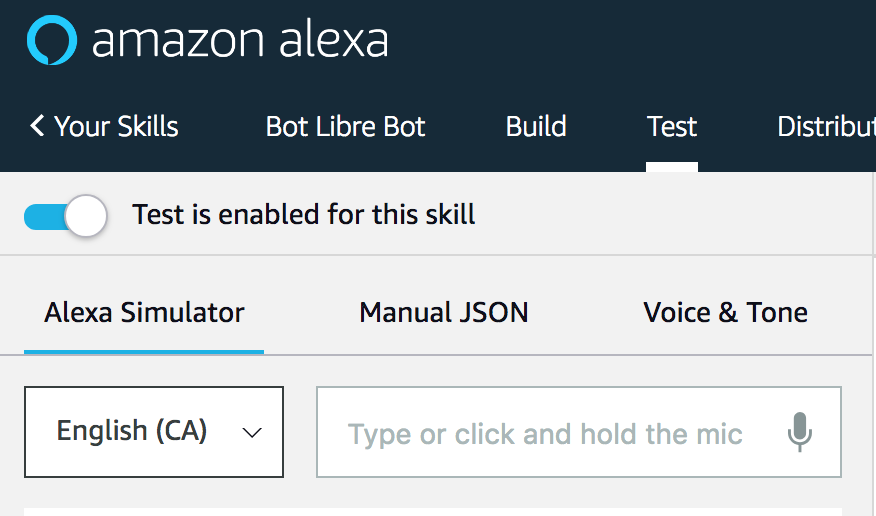
You should now be able to test your bot using the Alexa Skills Console or an Alexa device that is connected with your account. To test on the Alexa Skills Console, click the "Test" button.

You will need to enable testing for your skill by clicking the toggle that says "Test is disabled for this skill."

You will now be able to test your bot by typing into the text box or clicking on the mic icon to use your voice.
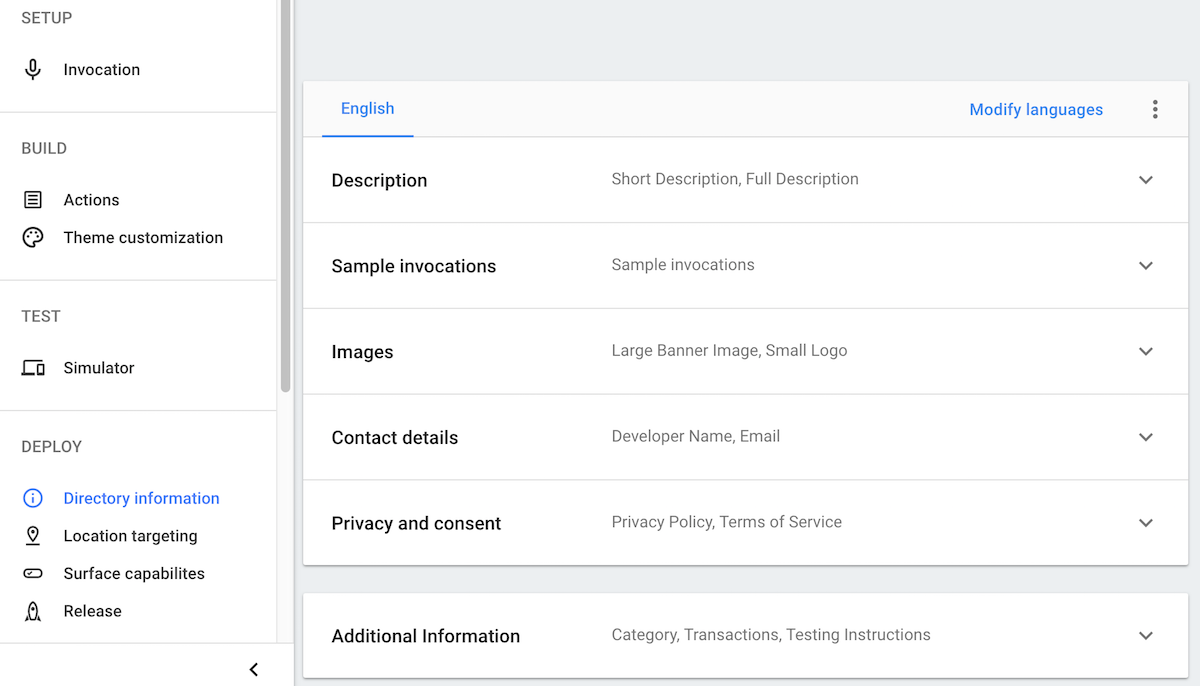
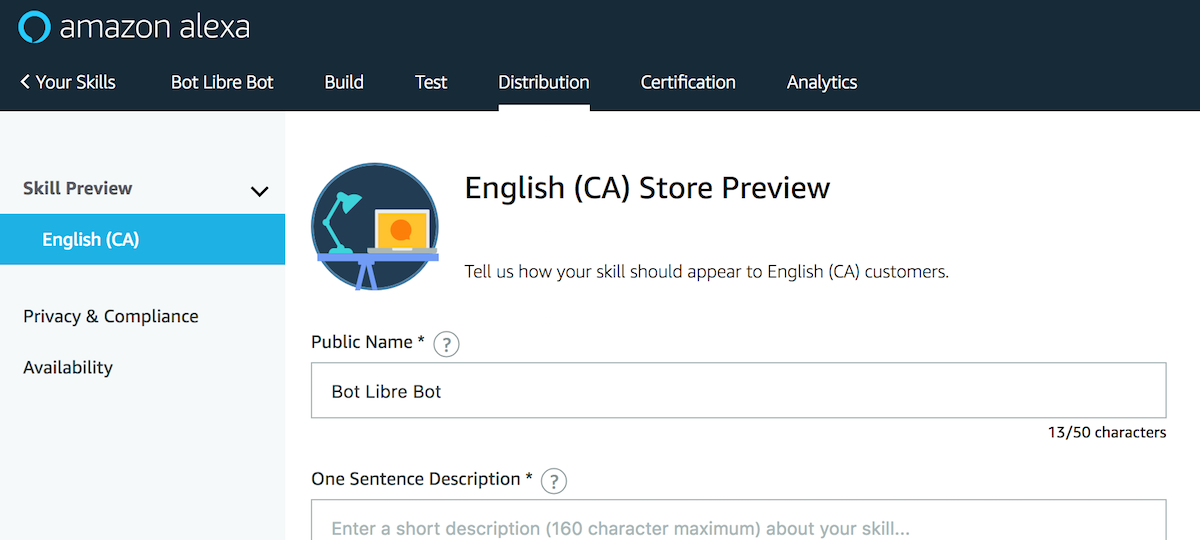
To make your Alexa Skill available to the public, you will need to complete the required information in the "Distribution" tab.
Next, click on the "Certification" tab. You will need to click the "Run" button to complete validation. When your skill has successfully passed validation, click on "Submission" in the left sidebar and then click the "Submit for review" button. You will then need to wait for Amazon to review your Alexa Skill before it is available for the public.

Your bot will now be able to send and receive messages on an Amazon Echo or any other Amazon Alexa-compatible device. If you encountered any issues, or would like help setting up your bot please email us at support@botlibre.com or upgrade to our Platinum service and we can build your bot for you.
You can now also talk to the Bot Libre Help Bot, Brain Bot, and Julie on Alexa.
say "Alexa, open Bot Libre" (lee bra) to talk with the Bot Libre Help Bot
say "Alexa, open Brain chatbot" to talk with the Brain Bot
say "Alexa, open Julie chatbot" to talk with the Julie